 how-to
How Do You Style a Holiday Let for Photos?
Last Updated: October 24, 2026
Quick Summary
Holiday let styling is the practice of preparing and dressing a rental so it photographs as calm, comfortable and trustworthy, and it starts with a deep clean and decluttering before any props go back in. Clear every surface, remove personal items, then add back only what earns its place in the frame.
- Your first photo gets about a second to stop a scrolling guest.
- Style rooms in the order guests scroll: living area, kitchen, main bedroom, bathroom, outdoor space.
- Pull the sofa 10-15 cm from the wall so the room reads deeper in a wide shot.
- Layer two plump pillows per person plus a throw at the foot of each bed.
- Run the photo checklist the day before and again on the morning of the shoot.
Table of Contents
- Why Styling Decides Whether Your Listing Photos Work
- How to Prepare a Holiday Let for Photography Before You Style Anything
- Holiday Rental Staging Ideas That Make Rooms Feel Lived In
- Room-by-Room: What to Style First and What to Leave Alone
- Working With Natural Light, Lamps and Mirrors
- Styling for Different Guest Types and Property Styles
- Low-Cost Styling and Where to Source Props
- Your Holiday Let Photo Checklist Before the Photographer Arrives
- Frequently Asked Questions
Why Styling Decides Whether Your Listing Photos Work
Guests scroll fast. Your first photo gets about a second to stop them, and styling is what makes that second count.
Get it right and your listing photos do the selling before anyone reads a word of the description. Get it wrong and even a skilled photographer is stuck shooting clutter.
Below, we show you how to style a vacation rental for photos, room by room, with a checklist for before the shoot.
How to Prepare a Holiday Let for Photography Before You Style Anything
Preparation comes before styling, and skipping it shows in every frame. A styled room sits on a clean, decluttered base; if the base is wrong, no cushion arrangement will fix it.
Work through preparation first, then style. For the fuller preparation walkthrough, see How to Prepare a Holiday Let for Professional Photography. This order saves you from styling around problems you should have removed.
Deep Clean and Clear the Surfaces
Start with a proper deep clean, not a quick wipe-down. Photographs pick up what eyes skip over.
- Clean windows inside and out, and clean the frames too
- Dust light fittings, skirting boards and the tops of wardrobes
- Clean mirrors until they are streak-free
- Scrub grout, limescale and any marks around taps
- Polish worktops until they reflect light evenly
Clear every surface before you decide what goes back. Empty worktops, empty bedside tables, empty shelves. Then add back only what earns its place in the photo.
A single smudge on a mirror or streak on a hob shows up in a wide-angle shot and reads as "not clean." Clean surfaces are the cheapest upgrade your photos will ever get.
Remove Personal Items and Visual Distractions
Guests want to imagine themselves in the space, which they cannot do if your life is in the frame. Remove anything that says "someone else lives here."
- Family portraits, school photos and personal artwork
- Toiletries, toothbrushes, hairdryers and bathroom clutter
- Bin bags, cleaning products, mops and laundry
- Pet bowls, leads and beds
- Clutter on the fridge, noticeboards and windowsills
- Cables, chargers and remote controls left out
Be ruthless: every personal item pulls the eye away from the room. Use one room or a car boot as a holding area for the day.
Holiday Rental Staging Ideas That Make Rooms Feel Lived In
Staging is about suggestion, not saturation: the goal is a room that looks like a good stay, not a show home nobody can touch. If you are weighing how much staging matters, read Why Professional Staging Increases Property Value.
Beds, Linens and the Details Guests Notice First
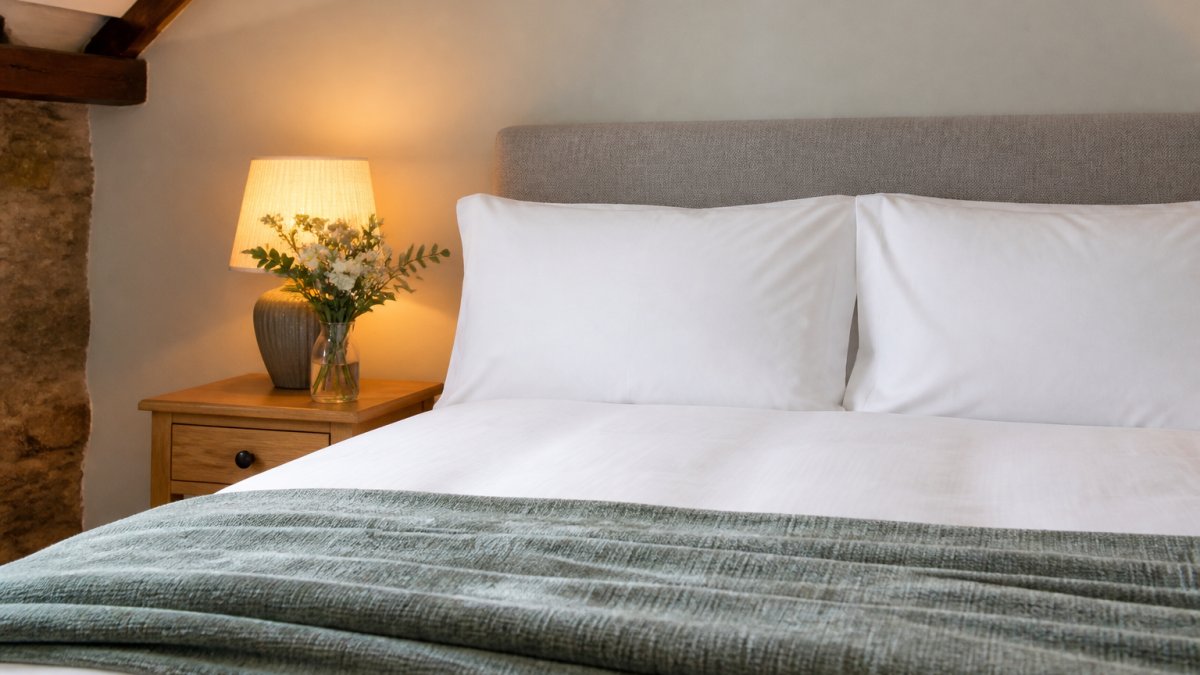
The bed is the most important object in your listing. Guests scan for it first, and a well-made bed signals care across the whole property.
- Use wrinkle-free bedding and iron the pillowcases
- Pull the duvet taut and tuck the corners neatly
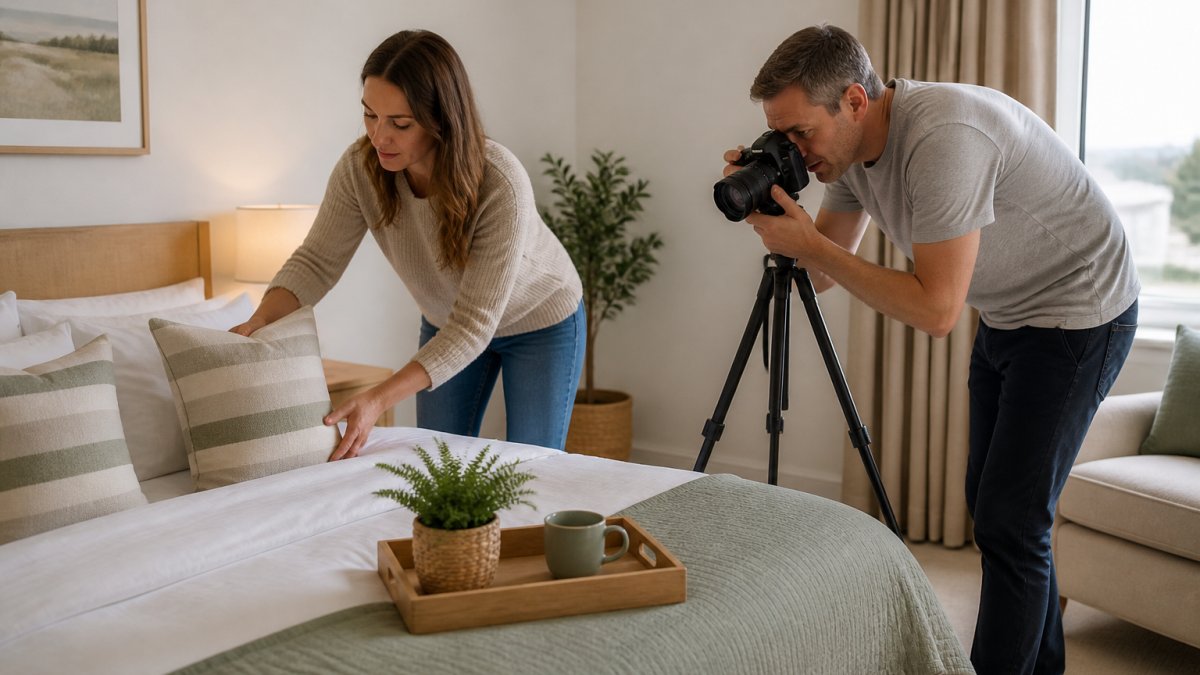
- Layer two plump pillows per person, plus a throw at the foot
- Match linen to the room's palette, ideally in white or soft neutrals
Fresh linens photograph brighter and read as clean. If yours are tired, replace them before the shoot rather than after.
Props, Colour Palettes and Furniture Flow
Props create a lifestyle scene without looking staged: a breakfast setting on the kitchen table, a folded newspaper and mug on the sofa, a towel rolled on the bath edge. These small touches help guests picture their stay.
Stick to a coordinated palette of two or three neutral colors; too many fight for attention and make rooms feel smaller.
Then check furniture arrangement. Can you walk through the room without sidestepping? Does the seating face something worth looking at? Improve room flow by pulling furniture slightly away from walls and angling chairs toward each other.
Room-by-Room: What to Style First and What to Leave Alone
Style the rooms guests book for first and leave utility spaces simple.
Living room. Plump the cushions and fold a throw over one arm of the sofa rather than spreading it flat.
Kitchen. Clear the worktops completely, then add back one bowl of fruit or a board with a cafetière and two mugs. Remove every non-built-in appliance unless it is part of the scene. A tea towel folded over the oven handle adds a lived-in touch without clutter.
Bedrooms. Make the bed properly: fitted sheet pulled taut, duvet folded back about a third of the way down, pillows plumped and layered two per person plus a throw at the foot. Clear bedside tables to a lamp and one small item. Open the wardrobe only if it is a selling point; otherwise keep doors closed.
Bathroom. Roll towels rather than folding them flat, and stack them on a shelf or the end of the bath.
Outdoor space. Sweep the patio and wipe the table.
Small rooms need extra care. For specific guidance on making small spaces photograph well, see How to Photograph Small Rooms for Listings.
Working With Natural Light, Lamps and Mirrors
Light is the difference between a room that looks bright and one that looks tired. Shoot with natural light wherever you can, and open every curtain and blind before the photographer arrives.
- Schedule the shoot for the brightest part of the day in each room
- Clean windows first, because dirty glass dulls the light
- Switch on lamps to add warmth and fill shadows
- Use mirrors to bounce light and add depth to narrow rooms
Bright interiors read as welcoming. Dark corners read as damp, even when they are not. If a room has no natural light, lamps and a well-placed mirror do most of the work.
Styling for Different Guest Types and Property Styles
The same styling rules apply everywhere, but the details should match who you want to attract.
- Families: sturdy furniture, clear floor space, a board game or books on the shelf, and a high chair or travel cot visible if you provide one. Avoid glass-topped tables and sharp-cornered coffee tables in the frame.
- Couples: softer lighting, a bottle and two glasses, a throw over the sofa, and a bath scene with rolled towels and a candle. Keep the palette warm and the props minimal.
- Business guests: a clear desk, good task lighting, a tidy, uncluttered look, and a visible power socket near the desk. Remove anything that suggests the space is primarily a family home.
- Groups: generous seating, a large dining table set for the group size, and a clear route to the kitchen. Show the dining table laid with plates and glasses rather than bare.
Match the property style too. A period cottage suits wool, wood, warm tones and props such as a wicker basket or enamel jug.
Accessibility matters here as well. Show a ground-floor bedroom or step-free entrance if you have one, styled as a normal, comfortable room rather than an afterthought.
Representation is part of this. If your props include books, artwork or magazines, choose titles and images a range of guests can see themselves in, without making claims about your guest demographic you cannot support.
Low-Cost Styling and Where to Source Props
You do not need a big budget to style well. Most of the best props are things you already own or can borrow.
- Charity shops for throws, vases and framed prints
- Supermarkets for fresh flowers, fruit and breakfast props
- Your own home for cushions, lamps and trays
- Discount homeware shops for towels and bedding in matching tones
- Neighbours and other hosts for a swap of props before a shoot
Buy in a tight palette so everything works together: two neutral throws and a set of matching towels do more than a carload of mismatched bargains.
One honest limitation: props tip into clutter fast. If you are unsure whether an item helps, take it out; the room will photograph better without it.
Your Holiday Let Photo Checklist Before the Photographer Arrives
Run this checklist the day before and again on the morning of the shoot. It catches the small things that ruin otherwise good photos.
| Task | When | Why It Matters |
|---|---|---|
| Deep clean all rooms | 2 days before | Clean surfaces photograph brighter |
| Remove personal items | 1 day before | Keeps the frame free of distractions |
| Make all beds with fresh linens | Morning of shoot | The bed is the first thing guests scan |
| Set props and breakfast scenes | Morning of shoot | Creates a lived-in lifestyle scene |
| Open curtains and switch on lamps | 1 hour before | Supports bright, even interiors |
| Clear cars, bins and hoses outside | 1 hour before | Protects the outdoor shots |
| Check mirrors and glass for streaks | 30 minutes before | Prevents marks in wide shots |
One more decision worth making early: styling versus editing. Once styled and ready, tell Mark what needs photographing. Style the room honestly and let editing handle only light and colour. Do not rely on editing to remove things that were never there, because guests notice when a listing does not match reality.
Frequently Asked Questions
How do you style a holiday let for photos without making it look fake?
Style the property as a guest would actually use it, then remove anything that only exists for the camera. A made bed, a folded throw and a mug on the table read as welcoming; a stack of brand-new cushions still in their packaging does not. Keep your holiday let styling close to what guests will find on arrival, because listings that look different in person generate complaints and poor reviews.
What should I remove before photographing a holiday let?
Clear personal items first: family portraits, post, medication, chargers and anything with a name on it. Then remove visual distractions such as bins, cleaning products, drying racks, pet bowls and cluttered worktops. Toiletries should be tucked away or replaced with matching, unlabelled bottles. A holiday let photo checklist built around decluttering and clean surfaces will do more for your images than any prop you buy.
Should lights be on when photographing a holiday let?
Yes, in most rooms. Turn on lamps and ceiling lights to even out shadows, but open curtains and blinds first so natural light does the main work. Switch off any bulb that casts a strong yellow or green tint, and avoid mixing daylight with older tungsten fittings in the same shot. Bright, evenly lit interiors photograph better and signal a well-maintained property to guests.
How can I make a small holiday rental look bigger in photos?
Push furniture back from doorways, remove one item from each surface and keep the colour palette light and coordinated. Mirrors placed opposite a window bounce daylight into the room, and a wide-angle lens helps a photographer capture more of the space without distortion. Styling for flow matters as much as styling for looks: if a guest cannot see a clear path through the room, the photo will feel cramped.
Styling a let for photos is a job with a deadline, and the pressure is real when your listing goes live on Thursday. That is where we come in. Property Home Photos works directly with photographer Mark Henry Rood, who plans each shoot around your listing date and arrives on time, calm and ready to work around owners and guests. You get a satisfaction guarantee and a turnaround built to protect your launch. Get started with Property Home Photos and give your let the photos that win enquiries.