 how-to
How to Photograph Small Rooms for Listings
Table of Contents
- Why Small Room Photography Matters for Property Listings
- Choosing the Best Lens for Small Room Photography
- Camera Positioning and Composition Techniques
- How to Stage Small Rooms for Photos
- Mastering Lighting for Compact Spaces
- Professional Property Photography vs DIY
- Post-Production and Final Delivery
- Frequently Asked Questions
Last Updated: September 28, 2026
Why Small Room Photography Matters for Property Listings
Poor photos cause buyers to scroll past; professional images make them stop and click. When you photograph small rooms, this difference is most obvious.
A compact bedroom or tight kitchen can look cramped or cosy depending on technique. Small spaces demand precision: the right lens choice, careful camera positioning, and smart staging.
Properties photographed professionally sell faster and command better offers. Small rooms are where professional photography delivers the biggest return because amateur shots make them look smaller than they are.
This guide covers lens selection, camera positioning, staging techniques, and lighting strategies for small rooms. These techniques will transform how your small rooms appear in listings.
Choosing the Best Lens for Small Room Photography
The lens you choose determines everything. The right lens makes a small room feel open and inviting.
Wide-angle focal length and full-frame equivalent
For small rooms, you need a wide-angle lens. A wide-angle lens captures more space in a single frame, making rooms appear larger and more open. For full-frame cameras, use 14mm to 35mm. For crop-sensor cameras, the full-frame equivalent matters more than the actual focal length.
Most real estate photographers use 16mm to 24mm focal lengths. A 16mm lens on a crop-sensor camera (1.5x crop factor) has a full-frame equivalent of roughly 24mm, which is wide enough for small rooms. Smartphone lenses (typically 28mm equivalent) are narrower than ideal but workable with careful positioning. Wider focal lengths make small rooms feel more spacious; narrower ones compress the space.
Managing distortion and maintaining architectural integrity
Wide-angle lenses introduce barrel distortion, straight lines bend outward at the frame edges. You can manage this distortion but can't eliminate it entirely.
Barrel distortion becomes visible in vertical lines, door frames, and corners. To maintain architectural integrity, keep vertical lines near the frame centre and position important features in the middle third. Post-production lens correction tools help straighten curved lines, but better in-camera technique reduces the need for correction.
Camera Positioning and Composition Techniques
Camera positioning determines whether a small room looks open or cramped.
Camera height and vertical line management
Shoot from eye level (roughly 1.5 metres from the ground). Lower angles make ceilings feel higher but rooms feel smaller; higher angles compress the space. Vertical lines should appear straight in your final image; when they lean inward or outward, the room looks distorted.
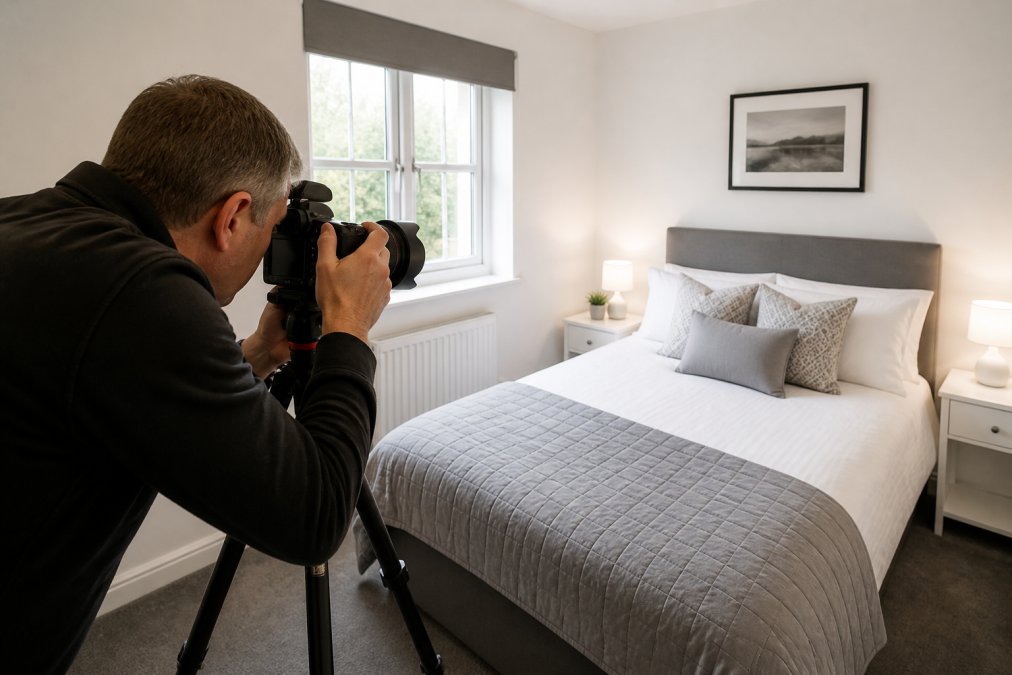
To keep vertical lines straight: position your camera so vertical lines run through the frame centre, keep your camera level, avoid standing too close to walls or corners, and use a tripod. Accept minor distortion on background elements, but not on major architectural features like doorframes.
Using the rule of thirds and leading lines
The rule of thirds divides your frame into nine equal sections. Use it to position focal points (windows, beds) along the third lines to create balance and draw the viewer's eye through the space.
Leading lines (bed edges, floor tiles, doorway frames, window frames) guide the viewer's eye through the image and make small rooms feel deeper and larger.
Shooting from doorways and corners
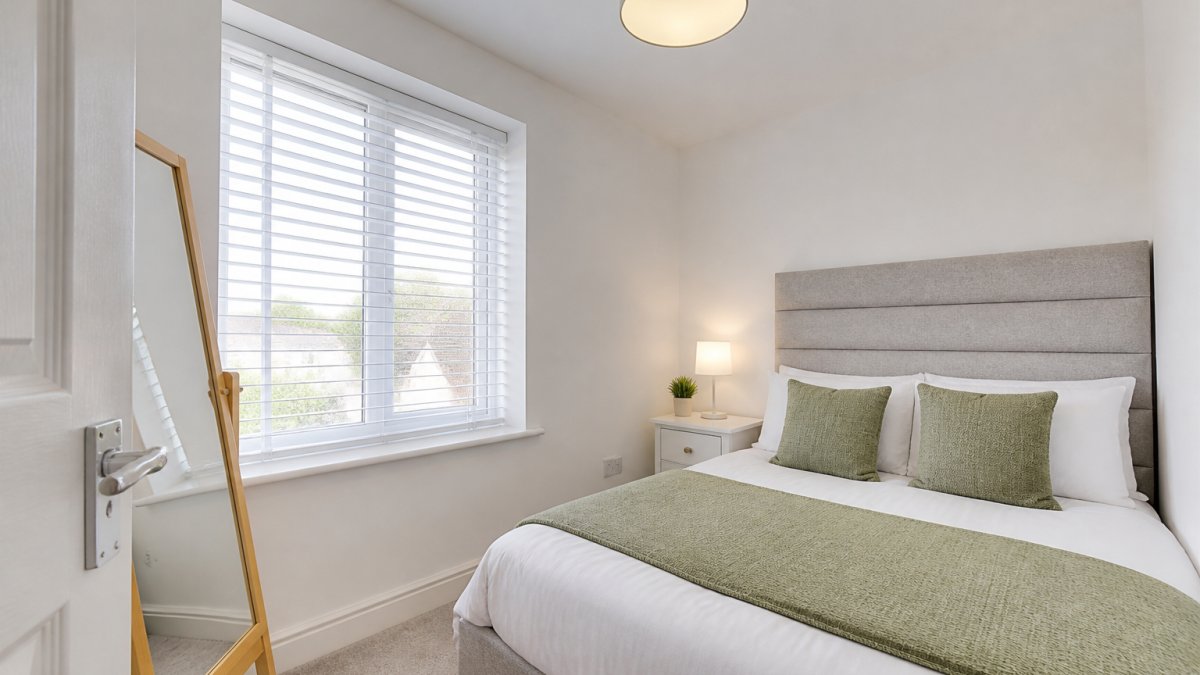
Doorways are ideal shooting positions. Position yourself in the doorway frame, shoot straight into the room, include a small portion of the adjacent room to show spatial flow, and keep the doorframe straight and level.
Corners are another strong shooting position. Standing in a corner lets you capture two walls and the full depth of the room. This creates a sense of space and shows how the room is laid out.
When shooting from a corner:
- Stand in the corner itself, not just near it
- Angle your camera to capture both walls and the far wall
- Use the corner lines as leading lines to guide the viewer's eye
- Keep both corner lines as straight as possible
Doorways and corners are powerful because they show the room's dimensions. Buyers can understand the layout and proportions immediately.
How to Stage Small Rooms for Photos
A messy small room looks tiny. A clean, well-staged small room looks spacious.
Staging is about creating spatial clarity. Remove clutter. Arrange furniture to show flow. Add touches that make the space feel inviting.
Decluttering and creating spatial clarity
Decluttering is the single most important staging step for small rooms.
Remove everything that doesn't serve a purpose:
- Personal items (family photos, personal collections)
- Excess furniture (extra chairs, side tables)
- Clutter on surfaces (books, papers, decorations)
- Clothes, shoes, and personal belongings
- Cables, chargers, and electronics
An empty small room looks bigger than a cluttered one. This seems obvious, but many homeowners struggle with it. They think adding decorative items makes a space feel homey. In photography, it makes it feel crowded.
Create clear sight lines. A sight line is an unobstructed view from one point in the room to another. If you can see straight from the doorway to the far wall, the room feels open. If your view is blocked by furniture or clutter, it feels cramped.
To create sight lines:
- Arrange furniture against walls, not in the centre of the room
- Leave pathways clear and open
- Position larger pieces (bed, sofa) so they don't block views
- Remove anything that breaks up the visual flow
Spatial clarity means the buyer can immediately understand the room's dimensions and layout. They should be able to picture themselves in the space.
Virtual staging versus physical staging
Physical staging means arranging real furniture and décor. Virtual staging means adding furniture digitally in post-production.
Physical staging is better for small rooms. When you photograph a real room with real furniture, the scale is clear. Buyers see actual proportions and can imagine themselves there.
Virtual staging works for empty rooms. If a room is unfurnished, virtual staging can show how furniture would look. But virtual furniture doesn't always look realistic. Shadows, reflections, and perspective are hard to get right digitally.
For small rooms, physical staging is recommended:
- Arrange real furniture to show how the space functions
- Keep furniture minimal, less is more in small spaces
- Choose light-coloured furniture that doesn't overwhelm the room
- Position pieces to create clear sight lines
If the room is empty and you choose to virtually stage it, hire a professional. Poor virtual staging looks fake and damages credibility.
Mastering Lighting for Compact Spaces
Lighting makes or breaks small room photography. Poor lighting makes small rooms look dark and cramped. Good lighting makes them feel open and inviting.
Using natural light effectively
Natural light is your best tool. It's free, it's flattering, and it makes spaces look real.
The best natural light comes from windows. Position your camera so windows are visible in the frame. This does two things: it shows the room has natural light (buyers love this), and it illuminates the space.
Shoot during midday or early afternoon when natural light is strongest.
Lighting equipment for cramped spaces
Sometimes natural light isn't enough. In basements, interior rooms, or north-facing spaces, you need additional light.
Position additional lights:
- Behind you, pointing into the room (fills shadows)
- To the side, pointing across the room (creates dimension)
- Never directly above the camera (this creates flat, uninteresting light)
Professional Property Photography vs DIY
Consider these factors:
Your time is valuable. Learning proper technique takes hours. Shooting takes hours. Editing takes more hours. If you're a real estate agent or property manager, this time is better spent on sales and client relationships.
Post-Production and Final Delivery
Your photos aren't finished when you press the shutter button. Post-production is where good shots become great ones.
Basic editing includes:
- White balance correction (making colours look natural)
- Exposure adjustment (making the image bright enough)
- Contrast and saturation tweaks (making colours pop)
- Lens correction (straightening distorted lines)
More advanced editing includes:
- HDR processing (blending multiple exposures for detail in shadows and highlights)
- Sky replacement (if windows show blown-out skies)
- Object removal (removing clutter you missed during shooting)
Frequently Asked Questions
What focal length is best for photographing small rooms?
A focal length between 16-24 mm (full-frame equivalent) works best for small room photography. This wide-angle range captures more of the space without excessive distortion. Wider than 16 mm can create noticeable barrel distortion that warps vertical lines and architectural features. If using a crop-sensor camera, multiply by the crop factor (typically 1.5x for APS-C) to find the equivalent focal length. Always prioritise capturing the full room over maximising width.
How do I avoid distortion when photographing small spaces?
Keep your camera level and position it at a height between 1.2 and 1.5 metres to maintain vertical line integrity. Avoid tilting upward or downward, as this exaggerates distortion. Use lens correction tools in post-production (available in Lightroom, Capture One, or free software like Darktable) to straighten any remaining barrel distortion. Stay at least 60-90 centimetres away from walls to reduce perspective exaggeration. Avoid ultra-wide lenses below 14 mm unless you plan heavy correction in editing.
Is professional property photography worth the cost compared to doing it myself?
Professional photographers bring equipment expertise, composition skill, and post-production knowledge that take months to develop. A professional delivers consistent, market-ready images in one shoot, whereas DIY typically requires multiple attempts, better equipment investment, and significant learning time. For property listings, professional imagery typically generates more enquiries and faster sales, offsetting the service cost. However, if you're photographing a single small room occasionally and have time to learn, DIY with a quality camera or smartphone can work. For regular listings or commercial venues, professional services save time and deliver better results.
How can I make a small room look bigger in photographs?
Use a wide-angle lens (16-24 mm full-frame equivalent) to expand the field of view and create perceived depth. Position the camera in a corner or doorway to show multiple walls and create leading lines that draw the eye through the space. Declutter thoroughly to reveal floor space and reduce visual weight. Use natural light to brighten corners and eliminate shadows that make rooms feel cramped. Apply the rule of thirds to position key features off-centre, which enhances spatial perception. In post-production, subtle brightness and contrast adjustments can emphasise depth and make the room feel airier.