 ultimate-guide
How to Prepare a Holiday Let for Professional Photography
Table of Contents
- Why Preparation Makes or Breaks Your Holiday Let Photography
- Holiday Let Photography Checklist: What to Do Before Shoot Day
- Holiday Let Interior Styling Tips That Work on Camera
- Can Professional Photos Fix Bad Lighting? What to Sort Before the Shoot
- Exterior and Garden Preparation for Strong First Impressions
- Post-Production, Legal Compliance and Budgeting for Your Shoot
- Frequently Asked Questions
Last Updated: September 14, 2026
Why Preparation Makes or Breaks Your Holiday Let Photography
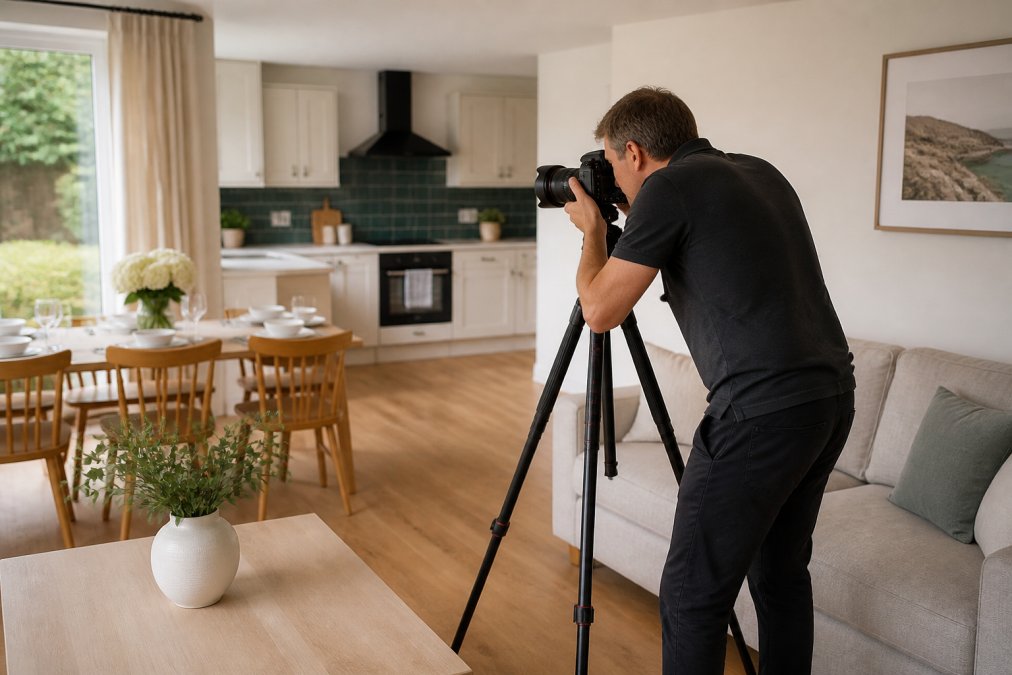
A professional camera cannot rescue a cluttered room. When you learn how to prepare a holiday let for professional photography, you are learning to control what the lens sees before the photographer arrives. Property Home Photos works with holiday let owners across England, and the pattern is always the same: the best images come from properties staged, cleaned and decluttered beforehand.
This guide breaks the process into a practical sequence for the week before your shoot: the room-by-room checklist, the styling choices that read on camera, which lighting problems you can fix, and how to handle post-production, compliance and budget decisions. The core argument is simple: preparation is the highest-use hour you will spend on your listing, because no amount of editing recovers a space that was not ready.
Holiday Let Photography Checklist: What to Do Before Shoot Day
Work through this holiday let photography checklist in order, starting with the rooms guests see first. Most owners find it takes a full day for a typical two or three-bedroom let, split across two sessions so nothing is rushed.
- Declutter every surface: worktops, shelves, bedside tables, mantelpieces
- Remove personal items: family photos, post, medication, pet bowls
- Deep clean windows, mirrors and glassware for reflections
- Replace blown bulbs and check every lamp works
- Fix visible damage: scuffed paint, chipped tiles, loose handles
- Store bins, cleaning products and laundry out of frame
- Tidy cables behind televisions and routers
- Position cars away from the driveway and front of the property
- Confirm the photographer's arrival time and access arrangements
Decluttering and Depersonalising Every Room
Decluttering changes images most, and it is where owners underestimate the work. A camera flattens depth, so a small pile of clutter reads as a large one on screen. Strip each room back to its function: beds, sofas, tables and one or two decorative pieces. Anything suggesting someone lives there, from toothbrushes to half-read books, should be packed away. The goal is a space a guest can imagine themselves in.
Cleaning and Repair Tasks That Show Up on Camera
Cleaning is not the same as tidying, and repairs are not the same as cleaning. Marks invisible in person become obvious in a high-resolution image. Wipe skirting boards, door frames and light switches, which catch dust in wide shots. Check for limescale around taps and shower screens, and grout lines in the bathroom. Small fixes matter: a dripping tap, stained bath mat or cracked tile all suggest a poorly maintained property, and guests read those signals quickly.
Holiday Let Interior Styling Tips That Work on Camera
Good holiday let interior styling tips come down to restraint and texture. Styling for a camera is not the same as styling for living. You want depth, warmth and a clear sense of how the space is used, without so many objects that the eye has nowhere to rest.
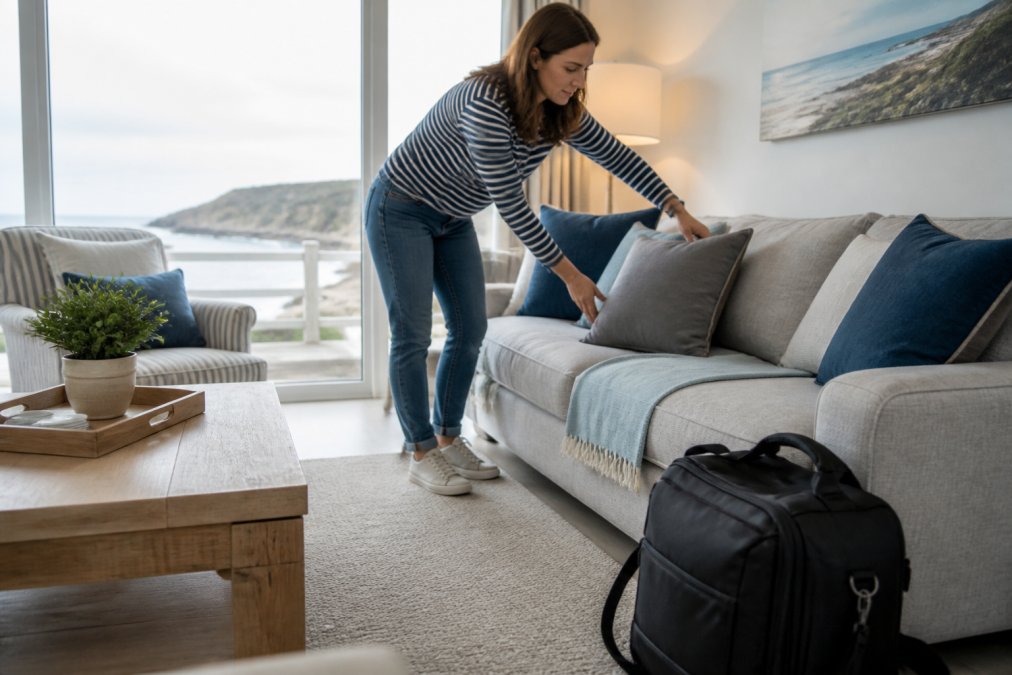
Start with soft furnishings, which photograph well and cost little. Plump every cushion, fold throws rather than draping them, and add one or two textured items such as a woven basket or wool blanket. Fresh flowers or a bowl of fruit give a room life without clutter. Avoid strong patterns that compete with the architecture, and keep colour palettes consistent from room to room so the listing feels coherent.
Room-by-Room Styling for Bedrooms, Bathrooms and Living Areas
Each room type has its own priorities.
| Room | Styling priority | Common mistake |
|---|---|---|
| Bedroom | Crisp bedding, symmetrical bedside tables | Rumpled duvets, mismatched lamps |
| Bathroom | Folded towels, clear surfaces, no personal products | Bottles left on the bath edge |
| Living area | Plumped cushions, clear coffee table, visible seating layout | Too many ornaments, tangled cables |
| Kitchen | Clear worktops, one styled bowl, closed cupboards | Clutter on the hob, bins in shot |
In bedrooms, make the bed with fresh, ironed linen and keep bedside tables symmetrical. In bathrooms, fold towels neatly and remove every personal product. Living areas should show the seating layout clearly, so a guest can see how many people can sit comfortably. In the kitchen, clear the worktops and add just one styled element.
Can Professional Photos Fix Bad Lighting? What to Sort Before the Shoot
Professional photos can improve bad lighting, but they cannot invent light that is not there. A photographer can balance exposure, lift shadows and correct colour, but a room that is genuinely dark, has heavy curtains blocking the windows, or relies on a single weak bulb will still look flat and uninviting. What you can control is the raw material.
Fixing Mixed Lighting Before the Camera Arrives
The most common lighting problem in holiday lets is mixed colour temperature. Domestic bulbs come in three ratings: warm white (around 2700K), cool white (around 4000K) and daylight (around 6500K) (gov.uk). When a warm bulb sits beside a cool one, the camera records two colour casts and the editor must choose which to correct, leaving the other wrong. Walk every room with the lights on and check all bulbs in a space share the same rating. Replace any odd one out before shoot day; a single mismatched bulb in a five-bulb fitting can spoil a wide shot.
Also check for dimmable bulbs on non-dimmable circuits, which can flicker on camera, and replace any bulb below 400 lumens in a room where you expect the lights to contribute to the exposure.
Choosing the Right Time of Day for Each Room
Light direction matters more than quantity. A south-facing room is brightest at midday but can blow out highlights on pale walls; an east-facing bedroom is best shot in the morning, a west-facing living room in the late afternoon. If your photographer shoots the whole property in one visit, tell them in advance which rooms face which way so they can sequence the shoot around the sun.
Overcast days are often better than bright sun for interiors, because the light is soft and even and casts no hard shadows across floors. Given a choice of dates, an overcast but dry day usually produces more usable images than a blazing one.
What to Do About Dark Rooms and Small Windows
Some rooms lack enough window area to photograph well without help. The practical fixes: maximise light by cleaning windows inside and out and removing nets or heavy valances; add a large mirror opposite the window to bounce light back; and use pale wall colours and light bedding or upholstery to lift reflectance. Do not rely on the photographer's flash, it creates harsh shadows and a flat, institutional look that reads poorly on listing sites.
Exterior and Garden Preparation for Strong First Impressions
Curb appeal decides whether a guest clicks your listing at all. The exterior shot is usually the first image a guest sees, so it deserves the same effort as the interior.
Cut the lawn and edge the borders in the days before the shoot. Clear paths of leaves, toys and bins, and move cars well away from the driveway. If you have a garden, terrace or outdoor seating area, set it up as if guests were about to use it: cushions out, table clean, nothing stored against the wall. Check the front door too, since it often frames the entrance shot. A clean, well-lit exterior signals a well-run property before a guest reads a word of your description.
Post-Production, Legal Compliance and Budgeting for Your Shoot
Three decisions sit behind the camera, and getting them right protects your listing and your reputation: what happens after the shutter clicks, what you are legally obliged to show, and how to think about the cost.
What Professional Post-Production Actually Involves
When you hire a professional, the delivered images are not the raw files. Standard post-production for holiday let photography typically includes:
- Exposure and contrast balancing across the whole set, so no single image looks darker or brighter than the rest.
- White balance correction to remove the colour casts caused by mixed bulbs or daylight through windows.
- Vertical straightening, which corrects the converging lines that wide-angle lenses create when shooting tall rooms. This is the single biggest visual difference between amateur and professional interior images.
- Lens distortion correction, which removes the bowing at the edges of wide shots.
- Blemish removal, scuff marks, a stray cable, a bin left in frame, using cloning and healing tools.
- Sky replacement or enhancement on exterior shots, where a flat grey sky is swapped for something with more definition. This is now standard practice on listing platforms and is generally accepted as long as the property itself is not altered.
What professional editing should not do: add furniture that is not there, change the dimensions of a room, remove permanent features such as radiators or built-in wardrobes, or alter the view from a window. If a guest arrives to something that does not match the images, you will hear about it in the reviews, and platforms can act on misleading listings.
Ask your photographer what is included before you book. Some quote for basic correction only and charge extra for sky replacement or virtual staging; others bundle everything. Knowing the difference prevents a surprise invoice.
Handling Safety Equipment and Compliance in Photos
Holiday lets are subject to specific safety requirements, and the equipment that satisfies them can be visually awkward. The key items are smoke alarms, carbon monoxide alarms (required in any room with a solid fuel burning appliance), fire blankets or extinguishers, and, for properties with gas appliances, a current Gas Safety Record (Smoke and Carbon Monoxide Alarm (Amendment) Regulations 2022). In England, short-term lets are also expected to meet the same fire safety standards as other rented accommodation, typically a fire risk assessment and clearly marked escape routes (Private renting: Your landlord's safety responsibilities).
You do not need to hide this equipment for a cleaner shot. Make it visible but tidy: alarms correctly mounted on ceilings or high walls rather than sitting on a shelf, fire blankets in their wall-mounted pouches rather than stuffed in a drawer, and any extinguisher in its designated position and in date. A photographer can frame a room so a ceiling-mounted alarm sits above the crop line, but it should never be removed for the shoot and forgotten.
On privacy, never photograph people, including guests, neighbours or passers-by, without their permission. Avoid capturing identifying details such as car number plates, documents, or the interiors of neighbouring properties through windows. If your property has a guest book or a visitors' log, keep it out of frame.
Budgeting: Professional vs. DIY Photography
Pricing depends on the size of the property, the number of images and video you need, and how quickly you need them delivered. A small let with a handful of rooms needs a very different package from a large venue with grounds. Rather than guessing at a figure, request a quote based on your property and your listing deadline.
When weighing professional against doing it yourself on a high-end smartphone, consider the full cost of each route. A DIY shoot costs nothing in cash but takes a full day of preparation, shooting and editing, and the results are limited by the phone's lens, sensor and dynamic range, particularly in wide shots and low light. A professional shoot costs money but delivers straight verticals, consistent colour across the set, and images sized and cropped for the major listing platforms. The break-even point is usually a single additional booking: if better images raise occupancy by even a few nights a year, the shoot has paid for itself.
Frequently Asked Questions
What is the 60/30/10 rule for interior styling in holiday let photography?
The 60/30/10 rule splits a room's colour palette into three proportions. Sixty per cent is your dominant colour, usually walls and large furniture. Thirty per cent is a secondary tone covering curtains, rugs or bedding. Ten per cent is an accent used in cushions, artwork or flowers. In holiday let photography this balance stops rooms looking flat or chaotic on camera. Pick a neutral base, add one complementary tone, then use a single accent colour that matches your listing's overall aesthetic.
Should I remove personal items before a professional photoshoot?
Yes. Remove family photos, personal toiletries, medication, pet beds and anything with a guest's name on it. These items distract viewers and can raise privacy concerns if the images are published. Replace them with neutral props such as folded towels, a bowl of fruit or a stack of books. The goal is to let potential guests picture themselves in the space, not see evidence of someone else living there.
Can professional photos fix bad lighting in a holiday let?
Professional photos can improve poor lighting through exposure control, white balance correction and post-production editing, but they cannot invent daylight that is not there. If a room has small windows, heavy curtains or dark walls, sort what you can before the shoot. Open all curtains, switch on every lamp, replace cool white bulbs with warm ones and clean windows inside and out. Your photographer can then balance the remaining shadows during editing.
How much does professional holiday let photography cost compared to doing it myself?
Pricing depends on the number of rooms, travel distance, turnaround time and whether you need video as well as stills. A DIY approach saves the fee but costs you time learning composition, lighting and editing, and phone photos often struggle with wide rooms and mixed lighting. For a small let with limited bookings, the decision usually comes down to whether better images bring in enough extra enquiries to cover the cost. Request a quote for current pricing.