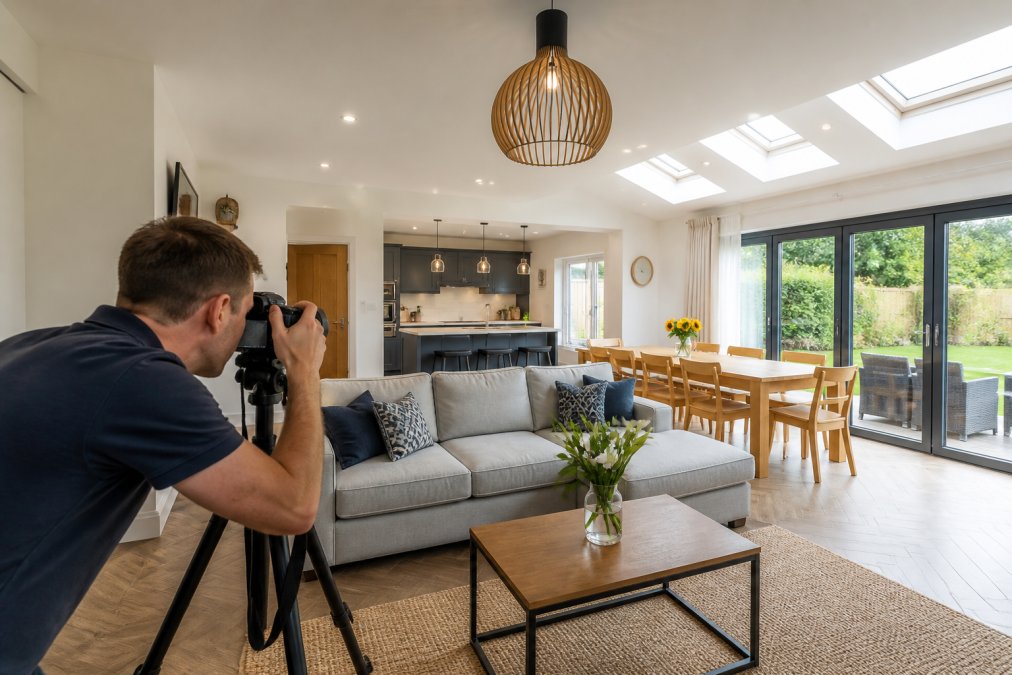
 ultimate-guide
High Quality Property Images: A 2026 Guide
Table of Contents
- Why High Quality Property Images Matter for Conversions
- Property Photography Best Practices: Preparation and Planning
- Interior Photography Lighting Techniques That Elevate Your Shots
- Composition and Framing for Maximum Impact
- Professional Real Estate Video Services and Visual Storytelling
- Post-Processing and Retouching Workflows
- Essential Gear and Technical Specifications for High Quality Property Images
- Common Photography Mistakes to Avoid
- Frequently Asked Questions
Last Updated: September 25, 2026
Why High Quality Property Images Matter for Conversions
High quality property images are the single biggest factor determining whether a potential buyer, tenant, or guest clicks through to learn more about your listing.
Poorly lit, badly composed photographs lose the sale before anyone views the full listing. Professional imagery that showcases a property's best features builds confidence and removes doubt, accelerating decision-making for both residential and commercial properties.
High quality property images help viewers understand layout, finish, and atmosphere without visiting. They answer the unspoken question: "Is this worth my time?" The answer determines whether you get enquiries or silence.
Property Photography Best Practices: Preparation and Planning
Success in property photography starts with preparation. This phase determines whether your shoot captures a space at its best or reveals problems that undermine the listing.
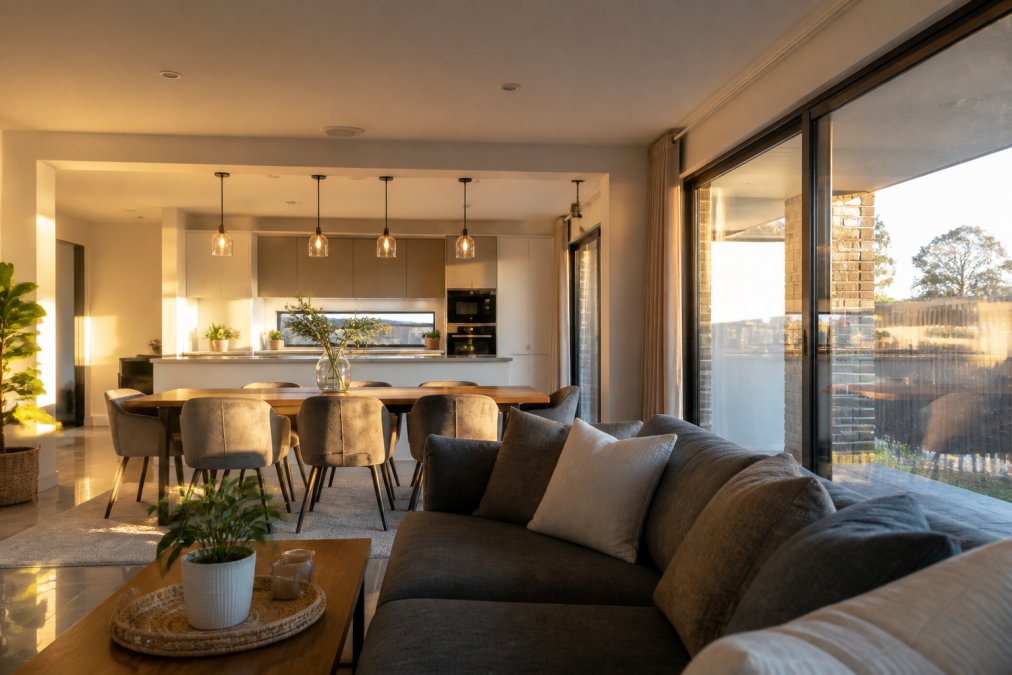
Staging and Decluttering Before the Shoot
Cluttered properties photograph poorly. Visual noise distracts from the property's actual features and prevents buyers from imagining themselves in the space.
Remove excess furniture, personal photographs, and clutter. Clear countertops, minimal decorative items, and neutral colour schemes make the property feel spacious and inviting rather than cramped or overly personalised.
For holiday lets and hospitality venues, curate personality rather than remove it.
Creating a Shot List and Identifying Key Angles
Identify which rooms and features matter most to your audience before the shoot begins. A family home needs bedrooms, bathrooms, and kitchen; a commercial office needs layout and natural light; a pub needs ambiance and practical details.
Interior Photography Lighting Techniques That Elevate Your Shots
Lighting separates professional property photography from amateur snapshots. Excellent lighting reveals the true character and scale of a room.
Natural Light Optimisation and Timing
Natural light is your most powerful tool. Rooms photographed during golden hour (first two hours after sunrise or final two hours before sunset) appear warm, inviting, and three-dimensional, while midday harsh sunlight looks flat and unflattering.
Schedule property shoots during golden hour when possible. If you must shoot during midday, use sheer curtains to diffuse harsh sunlight and artificial fill light to balance shadows. The time investment pays dividends in listing quality.
Balancing Artificial Light with Ambient Conditions
Artificial lighting should enhance natural light rather than replace it. This requires understanding colour temperature and how different light sources interact.
Composition and Framing for Maximum Impact
Composition determines whether viewers feel drawn into the space or see it as flat and uninviting. Composition rules guide the eye and create visual interest.
Wide-Angle Lens Usage and Correcting Distortion
Wide-angle lenses are essential for property photography. A standard lens captures one wall; a wide-angle lens reveals the entire space, helping viewers understand layout and proportions.
Rule of Thirds and Leading Lines
The rule of thirds divides an image into nine equal sections. Placing key features along these lines creates more dynamic compositions than centring everything.
Professional Real Estate Video Services and Visual Storytelling
Still images tell part of the story. Video reveals atmosphere, flow, and the experience of moving through a space. This is particularly valuable for holiday lets, hospitality venues, and larger commercial properties.
Post-Processing and Retouching Workflows
Capturing the shot is only half the battle. Post-processing transforms raw images into polished final products that represent the property accurately and appealingly.
Exposure Blending and HDR Techniques
Interior spaces often present challenging lighting conditions: bright windows alongside darker interior walls. A single exposure either blows out the windows or underexposes the interior. Exposure blending solves this by combining multiple exposures into a single, balanced image.
Colour Correction and White Balance Adjustments
Interior lighting often has a colour cast, warm tungsten light, cool fluorescent, or mixed sources. Raw images capture these casts faithfully, but they can make spaces look dingy or unnatural.
Shadow Recovery and Highlight Clipping Prevention
Post-processing recovers detail in shadows without creating blown-out highlights. This balance is crucial in property photography, where viewers need to see both the dark recesses of a room and the bright areas near windows.
Essential Gear and Technical Specifications for High Quality Property Images
Professional results require appropriate equipment. This doesn't mean the most expensive gear available, but it does mean equipment suited to property photography.
Camera, Lens, and Tripod Requirements
A full-frame DSLR or mirrorless camera provides the image quality and low-light performance property photography demands. Crop-sensor cameras work but have limitations in low light and dynamic range.
File Format, Resolution, and Metadata Optimisation
High quality property images should be delivered as high-resolution files suitable for printing and web use. A minimum of 4000 x 3000 pixels provides flexibility for cropping and printing without quality loss.
Common Photography Mistakes to Avoid
Ignoring platform-specific technical requirements wastes potential. Different property portals have different image requirements, aspect ratios, file sizes, and resolution standards. Submitting images that don't meet these specs results in compressed, degraded versions of your high quality property images.
Frequently Asked Questions
What makes high quality property images different from standard mobile phone photos?
High quality property images use professional equipment, controlled lighting, and composition techniques that reveal the true layout and condition of a space. Mobile phone photos often suffer from poor white balance, limited dynamic range, and distortion that misrepresents room dimensions. Professional images employ exposure blending, precise colour correction, and wide-angle lenses with distortion correction to show properties as buyers and guests actually experience them. The difference directly impacts listing conversions and booking inquiries.
How important is professional real estate video services alongside photography?
Video complements photography by showing spatial flow, natural lighting throughout the day, and the property's atmosphere in motion. Listings with both photography and video receive significantly more engagement and inquiries. Professional real estate video services capture the narrative of a space, how light moves, how rooms connect, and the overall ambiance, in ways static images cannot. For holiday lets, hospitality venues, and commercial spaces, video is particularly effective at conveying the experience and vibe that photographs alone may not fully communicate.
What equipment is essential for achieving professional-grade property photography?
You need a full-frame or APS-C camera, a wide-angle lens (14-24mm), a sturdy tripod, and lighting equipment including reflectors or off-camera flashes. High-resolution sensors (at least 24 megapixels) capture fine detail, whilst wide-angle lenses show room dimensions accurately. A tripod ensures sharp images and consistent framing. Lighting control, whether natural light optimisation or supplemental strobes, is critical for managing shadows and highlights. Post-processing software like Lightroom and Photoshop is necessary for exposure blending, colour correction, and professional retouching.
How does interior photography lighting technique affect listing conversion rates?
Proper interior photography lighting techniques reveal the true character and condition of a space, making rooms appear inviting and spacious. Poor lighting creates shadows that hide features, yellows or blues the space, and makes rooms feel smaller. Techniques like exposure blending, white balance correction, and strategic use of fill light recover shadow detail and balance highlights, producing images that match how buyers and guests perceive the property in person. This accuracy removes doubt and accelerates decision-making, directly improving conversion rates.
What is the most common mistake when photographing property interiors?
The most frequent error is using wide-angle lenses without understanding perspective distortion correction, which warps vertical lines and makes rooms look unnatural. Other common mistakes include shooting during poor lighting conditions, failing to declutter and stage spaces, using inconsistent white balance across shots, and not removing or correcting highlight clipping in windows. Many photographers also neglect to shoot from multiple angles or fail to capture the full spatial context. These mistakes undermine credibility and reduce buyer or guest confidence in the listing.
How do I ensure high quality property images match reality and meet disclosure standards?
Represent the property honestly: avoid extreme angles that distort perception, use accurate colour correction that reflects actual conditions, and disclose any significant retouching in your marketing materials. The Consumer Protection from Unfair Trading Regulations 2008 requires that property descriptions and images must not mislead consumers. Avoid over-processing that creates unrealistic expectations, and ensure lighting and composition choices reflect how the space genuinely appears. Transparency builds trust and reduces guest or tenant complaints about mismatched expectations.
What is the typical turnaround time for professional property photography and post-processing?
Professional turnaround typically ranges from 3 to 7 working days, depending on the number of images, the complexity of post-processing, and the photographer's schedule. Exposure blending, colour correction, and professional retouching require time to execute properly. Many professional photographers, including those working with Property Home Photos, plan shoots around your listing deadlines to ensure images are ready when you need them. Discuss your timeline upfront so the photographer can prioritise your project and avoid missing critical launch dates.
Should I invest in professional photography if I'm running a small holiday let with limited bookings?
Yes. Professional property images directly influence booking inquiries and occupancy rates, regardless of property size. A small holiday let with 8 bookings monthly can increase bookings significantly through high-quality visuals that showcase the property's unique appeal and atmosphere. Guests make booking decisions primarily on images, so professional photography that captures ambiance, cleanliness, and character pays for itself through improved conversion rates. The return on investment is faster for smaller properties where every booking matters.