 blog
blog
7 Essential Shots for a Successful Holiday Let Listing
Table of Contents
- Why These 7 Shots Matter for Your Holiday Let Listing
- How Many Photos Should a Holiday Let Listing Have
- Shot 1: The Welcoming Exterior
- Shot 2: The Living Room - First Interior Impression
- Shot 3: The Kitchen - Showcasing Functionality
- Shot 4: The Primary Bedroom - Comfort and Space
- Shot 5: The Bathroom - Cleanliness and Facilities
- Shot 6: Outdoor Space - Garden, Patio, or Terrace
- The Impact of Strong Holiday Let Listing Photography
- Frequently Asked Questions
Last Updated: October 10, 2026
Why These 7 Shots Matter for Your Holiday Let Listing
Getting your holiday let listing right from the start makes all the difference. A potential guest scrolls through dozens of properties every day. They spend seconds, not minutes, deciding whether to click deeper or move on. Those first few images determine everything.
The truth is simple: high-quality pictures build trust. When guests see clear, well-lit photos that show the actual layout and finish of your property, they feel confident booking. When photos are blurry, dark, or poorly framed, they assume the worst and look elsewhere.
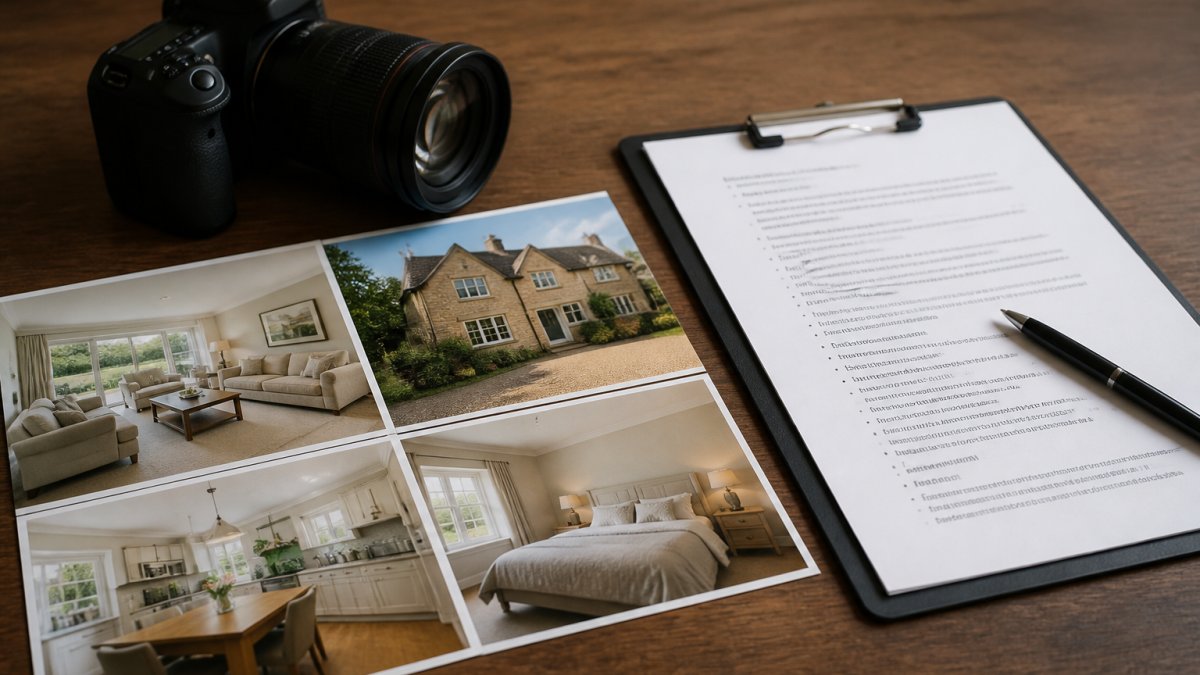
A strong holiday let listing relies on seven essential shots that work together to tell a complete story. Each one serves a specific purpose. The exterior invites them in. The living room shows them where they'll relax. The kitchen proves it's functional. The bedrooms and bathroom confirm comfort and cleanliness. The outdoor space seals the deal. Together, these 7 essential shots for a successful holiday let listing transform browsers into bookers.
How Many Photos Should a Holiday Let Listing Have
Most holiday let listings benefit from 15 to 25 total photos. This range gives you enough coverage to show every important area without overwhelming the viewer. Too few photos leave guests guessing. Too many dilute the impact of your best shots.
Quality beats quantity every time. A listing with 12 exceptional photos outperforms one with 30 mediocre ones. Focus on getting the core shots right before adding extras.
The seven essential shots form the backbone of any strong listing. Beyond these, you might add:
- Additional angles of key rooms
- Details of special features (fireplace, hot tub, original beams)
- Seasonal views (garden in summer, cosy interior in winter)
- Close-ups of amenities (well-stocked kitchen, premium bedding)
Each additional photo should answer a question a guest might have. If you're adding a shot, ask yourself: "Does this help someone decide to book?" If the answer is no, leave it out.
Shot 1: The Welcoming Exterior
Your exterior shot is the first impression. It's the image that appears in search results and thumbnail galleries. Get this wrong and guests never click through to see the rest.
Shoot during daylight with natural light. Overcast days work well because they eliminate harsh shadows. Avoid shooting in full sun, which creates dark patches and blown-out highlights.
Frame the shot to show the front entrance clearly. Include enough of the garden or patio to hint at outdoor space.
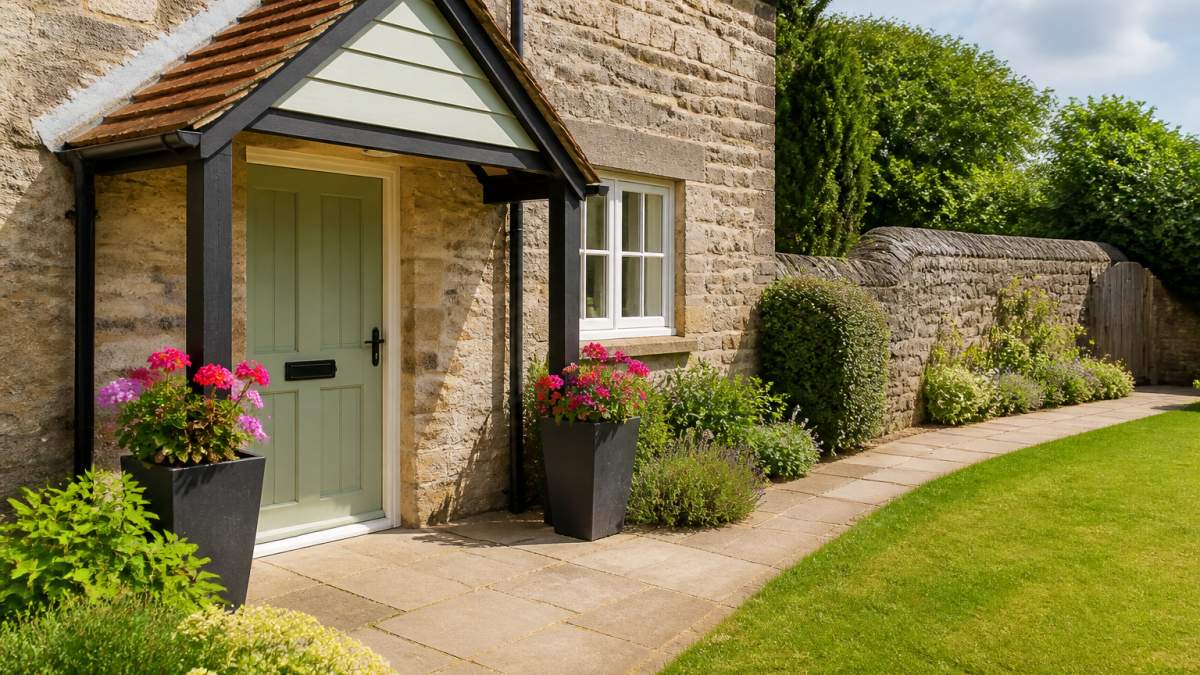
Include context that helps guests understand the property's setting. If it's a countryside cottage, show trees and open space. If it's a coastal property, frame the shot to hint at the view.
Most booking platforms display thumbnails at small sizes. Your exterior shot needs to work at thumbnail scale. That means the entrance should be clear and centred.
Shot 2: The Living Room - First Interior Impression
The living room is where guests will spend their evenings. This shot needs to feel welcoming and spacious. It's often the second image in a listing, so it carries significant weight.
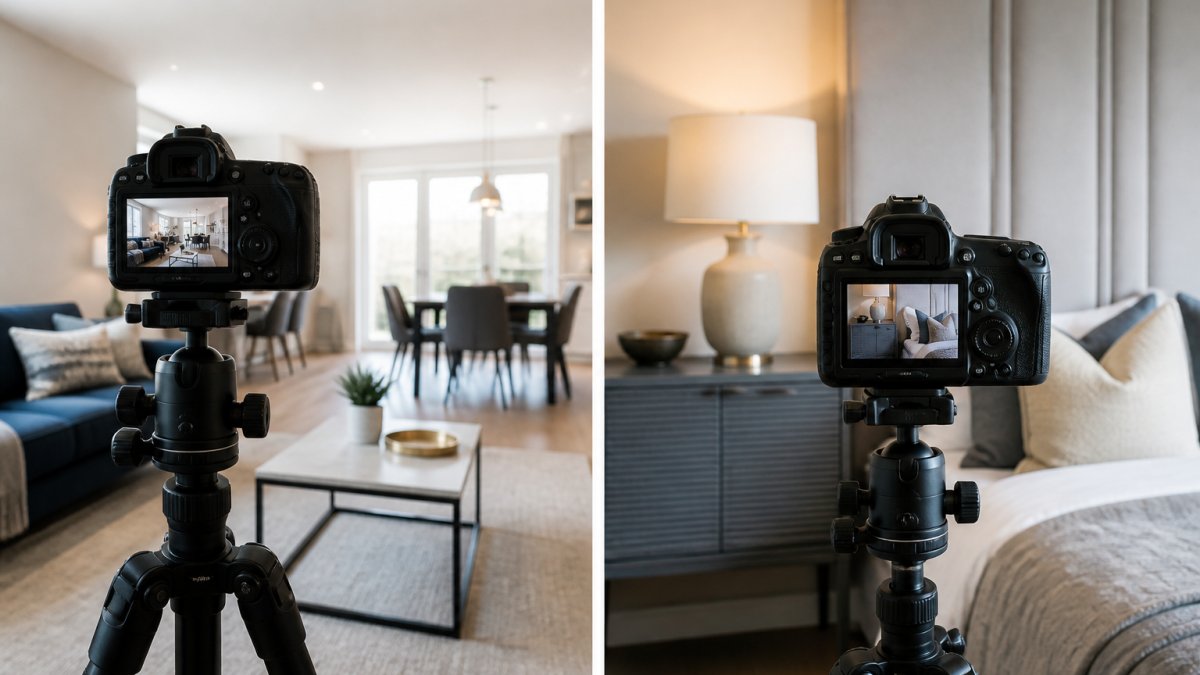
Shoot from the doorway or a corner that shows the full room depth. Include the seating area, any focal point (fireplace, TV, window view), and enough of the room to understand the layout.
Lighting is critical. Turn on all lights in the room. If natural light is available, open curtains fully. Combine natural and artificial light for a balanced, inviting look. Avoid harsh shadows from direct sun through windows.
Stage the room lightly. Fluff cushions, fold throws neatly, and ensure seating is arranged naturally. Remove clutter from tables and shelves. A lived-in look is good; a messy look is not.
If the living room has a distinctive feature, a fireplace, original beams, a view, frame the shot to highlight it. This is where you show what makes your property special. A standard living room photo works.
Shot 3: The Kitchen - Showcasing Functionality
Kitchens sell holiday lets. Guests want to know they can cook a proper meal if they choose. They want to see clean counters, modern appliances, and enough space to work.
Shoot the kitchen from the entrance or a corner angle that shows counter space, appliances, and the general layout. Include the dining table if it's part of the kitchen area.
Clear all counters before shooting. Put away small appliances, crumbs, and dishes. Wipe down surfaces. An empty, clean kitchen looks modern and inviting. A cluttered kitchen looks cramped.
Lighting matters enormously here. Turn on overhead lights and any under-cabinet lighting. If you have natural light from a window, use it.
If your kitchen has standout features, granite counters, stainless steel appliances, a large island, a view from the window, make sure they're visible.
Show at least some of the equipment available. If you have a dishwasher, coffee maker, or quality cookware, let it be visible. Guests appreciate knowing what they can use without asking.
Shot 4: The Primary Bedroom - Comfort and Space
The bedroom is where guests sleep. They need to feel confident the bed is comfortable and the room is spacious enough to move around.
Shoot from the doorway or foot of the bed to show the full room. Include the bed as the focal point, but also show the surrounding space, any windows, and storage.
Make the bed look inviting. Fresh, clean bedding is non-negotiable. Fluff pillows. Add a folded throw or cushion if you have one.
Lighting should be warm and welcoming. Avoid cold overhead lights alone. If possible, use bedside lamps or natural light from windows. A warm-toned bedroom feels more inviting than a clinical one.
Show windows and any views. If there's a garden view, sea view, or countryside vista, frame the shot to include it. These views are major selling points for holiday let bookings.
If the bedroom has storage (wardrobe, drawers, shelves), make sure it's visible and looks organized. Guests need to know where to put their belongings for a week or two.
Shot 5: The Bathroom - Cleanliness and Facilities
Bathrooms are trust-builders. A spotless, well-lit bathroom reassures guests that your property meets high standards. A dingy bathroom makes them question everything else.
Shoot the bathroom to show the toilet, sink, and shower or bath. Angle the shot to display the full space without distortion.
Cleanliness is everything. Scrub the bathroom thoroughly before shooting. Ensure the toilet is spotless, the sink shines, and the shower or bath is pristine. Wipe mirrors. Remove any personal items or clutter.
Lighting should be bright and even. Turn on all bathroom lights. If there's natural light from a window, use it. Bathrooms often look better with bright, clear light than with moody lighting.
Show what's available. If you provide quality towels, display them neatly folded. If there's a shower screen or bath, make sure it's clean and visible. If you provide toiletries, show them clearly. These details signal that you care about guest comfort.
If your bathroom has any standout features, heated towel rail, rainfall showerhead, underfloor heating, original tiles, make sure they're visible in the shot.
Shot 6: Outdoor Space - Garden, Patio, or Terrace
Outdoor space is a major booking driver. Whether you have a sprawling garden, a small patio, or a shared terrace, this shot needs to show guests how they'll use it.
Shoot during good natural light, ideally mid-morning or mid-afternoon. Avoid harsh midday sun or late evening shadows. The outdoor space should look inviting and usable.
If you have garden furniture, arrange it to show how guests will relax.
Frame the shot to show the size of the space and any features it has. If there's a BBQ, hot tub, fire pit, or water feature, make sure it's visible.
Include any view or backdrop that makes the space special. A countryside view, sea vista, or mature trees all add appeal.
Tidy the space before shooting. Remove garden tools, hoses, and clutter. Sweep or rake if needed. Trim any overgrown plants. A well-maintained garden suggests a well-maintained property.
If the outdoor space is small, don't oversell it. Shoot it honestly to show its true size and appeal.
The Impact of Strong Holiday Let Listing Photography
These seven essential shots for a successful holiday let listing work together to answer every question a potential guest might have. They show the property honestly, highlight its best features, and build confidence in booking.
Properties with clear, well-composed photos consistently outperform those with amateur shots. The difference isn't subtle, it's dramatic.
Your holiday let listing competes against dozens of others. Guests have unlimited choices. The properties with strong, professional photography get the enquiries. The ones with blurry phone photos get passed over.
Investing in proper photography isn't a luxury. It's the foundation of a successful holiday let business. Each of these seven shots serves a purpose. Each one removes doubt and builds interest. Together, they tell potential guests: "This is a property worth booking."
The best time to get these shots right is before your listing goes live. A strong first impression drives bookings from day one. A weak one means you're fighting to recover throughout the season.
Getting your holiday let listing right requires more than just snapping photos with a phone. With a satisfaction guarantee and turnaround times planned around your listing deadlines, we help you launch strong and maintain high occupancy. Request a quote to see how professional photography can transform your holiday let bookings.
Frequently Asked Questions
What photos should I include in a holiday let listing?
Your holiday let listing needs seven essential shots: the exterior, living room, kitchen, primary bedroom, bathroom, outdoor space, and one distinctive feature or local attraction. These shots give potential guests a complete understanding of the property layout, finish quality, and amenities. Each shot should be clear, well-lit, and composed to show the room's actual size and functionality. This combination builds trust and encourages booking enquiries by removing doubt about what guests will find when they arrive.
How many photos should a holiday let listing have?
A successful holiday let listing typically includes 15 to 25 high-quality photographs. The seven essential shots form the foundation, but supplementary images of additional bedrooms, outdoor features, and local attractions strengthen your property presentation. More images increase listing visibility in search filters and give guests confidence in their booking decision. Platform specifications vary, so check your booking site's image limits and recommendations. Quality always outweighs quantity; blurry or poorly composed photos damage your listing more than a smaller, well-curated gallery.
Should I use a professional photographer for my holiday let?
Professional photography delivers measurable results for holiday let bookings. A professional photographer understands composition, lighting, and property presentation in ways that smartphone photos cannot match. High-quality images build trust, reduce guest uncertainty, and typically lead to higher occupancy rates and shorter booking gaps. For small operations with 8 bookings a month, professional photography accelerates growth by improving first impressions and conversion rates. The investment pays for itself through increased enquiries and fewer cancellations caused by listing-to-reality mismatches.
What is the best time of day to photograph a holiday let?
Overcast days provide soft, diffused light that flatters interiors without creating strong shadows. For exterior shots, late morning to early afternoon offers the best balance of light and shadow. Check your property's sun direction and plan shoots accordingly so windows aren't backlit, which creates silhouettes and hides interior detail.