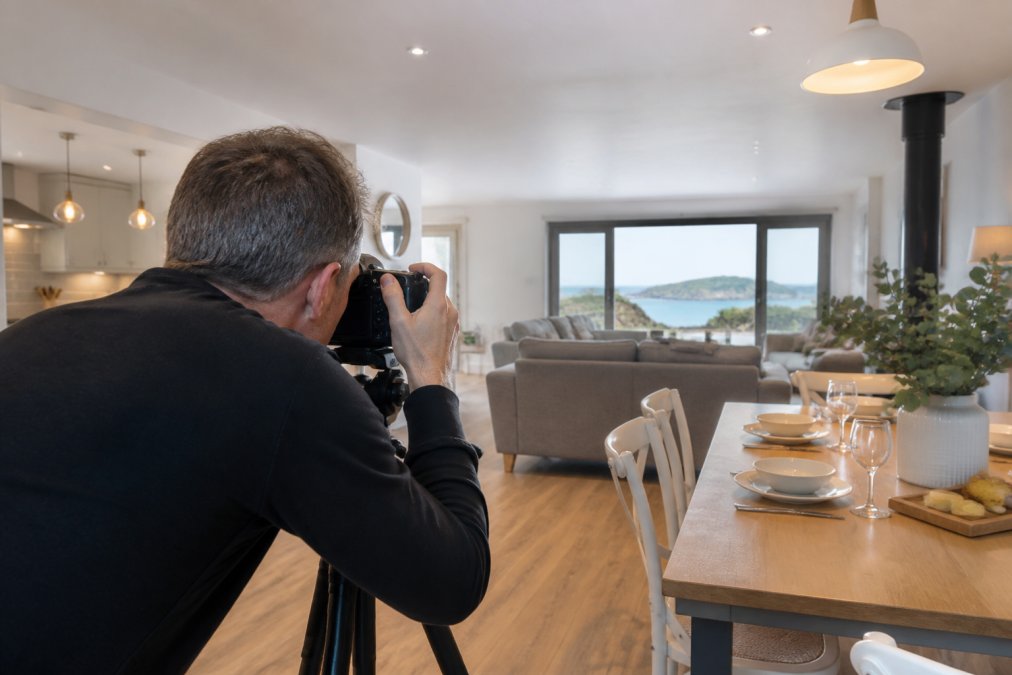
 how-to
How to Photograph Holiday Lets: A 2026 Guide
Table of Contents
- Why Great Photos Matter for Your Holiday Let
- What You'll Need: Equipment and Preparation Checklist
- Dressing a Holiday Let for Photography: A Room-by-Room Approach
- Step-by-Step: How to Photograph Holiday Lets Like a Pro
- Best Camera Settings for Property Photography
- Common Mistakes to Avoid When Shooting a Let
- The Benefits of Professional Property Photography
- Conclusion: Your Next Steps to a Better Listing
- Frequently Asked Questions
Last Updated: September 7, 2026
Why Great Photos Matter for Your Holiday Let
Photography is the first interaction a potential guest has with your property and often determines whether they click through or scroll past. Poor visuals signal neglect, while sharp, well-lit images communicate quality and care. In the competitive short-stay market, your photographs are the primary sales tool that drives inquiries and secures bookings.
This guide from Property Home Photos walks through the practical steps to photograph holiday lets effectively, covering preparation, camera technique, and finishing touches. We focus on actionable advice you can apply whether you are using a professional or your own camera.
What You'll Need: Equipment and Preparation Checklist
Before you start, gather the right equipment and prepare the property itself. Rushing to shoot before the space is ready leads to wasted time and mediocre results.
Essential equipment checklist:
- A DSLR or mirrorless camera with a wide-angle lens (16-24mm range is ideal)
- A sturdy tripod for consistent, sharp shots
- A remote shutter release or the camera's self-timer function
- A polarising filter to reduce glare on windows and floors
- Spare batteries and memory cards
Preparation is just as important as the gear. The property must be spotless, including skirting boards, light switches, and windows. Decluttering is non-negotiable: remove personal items, excess furniture, and kitchen counter appliances to create a neutral canvas. Pay special attention to high-traffic areas like the living room and kitchen.
Dressing a Holiday Let for Photography: A Room-by-Room Approach
Dressing a holiday let for photography is about styling the space to highlight its best features and create an aspirational yet realistic feel, showing how the property lives at its best, not misrepresenting it.
For each room, focus on its primary function. In the living room, arrange seating conversationally and add throws and cushions for texture. Open curtains fully to maximise natural light. In bedrooms, make the bed with crisp, hotel-quality linen, plump pillows, and consider a bench at the foot of the bed. Kitchens should look clean and uncluttered; a bowl of fresh fruit or small vase of flowers adds a homely touch.
In the bathroom, remove all personal toiletries, roll fresh towels neatly, and polish mirrors and chrome fittings. This room should evoke cleanliness and relaxation, top priorities for most guests.
Step-by-Step: How to Photograph Holiday Lets Like a Pro
Now that the property is dressed, the capture process begins. The workflow is systematic, starting with the widest view of each room and moving to details that tell the story of the space.
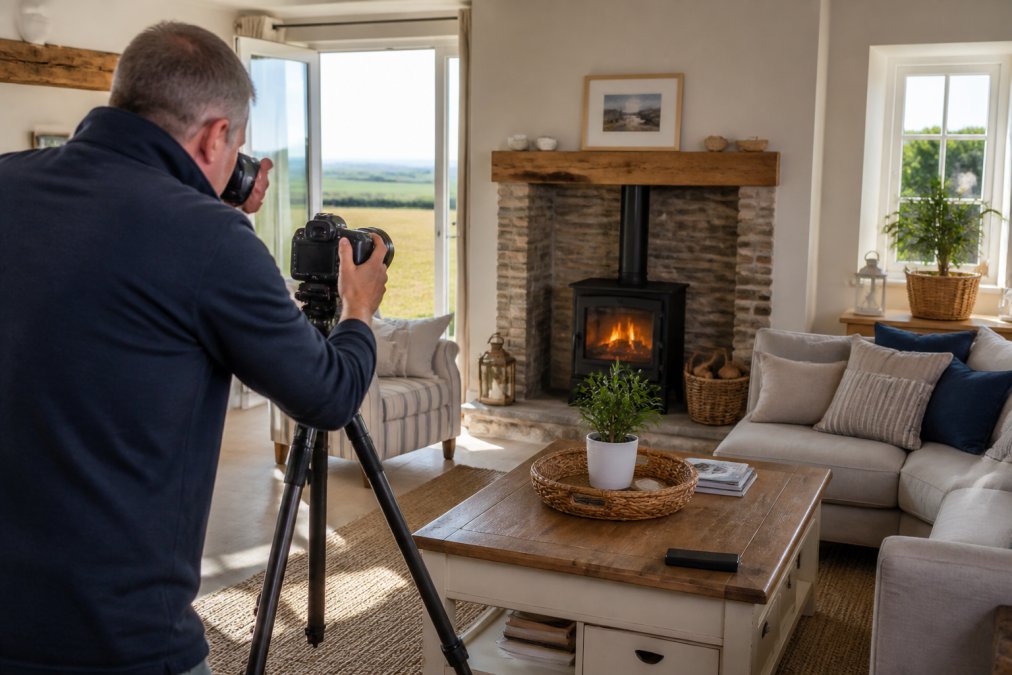
Shoot each room from the corner opposite the main entrance for the broadest view. Take shots at different heights, but around 1.2 metres (chest level) provides the most natural perspective.
Mastering Composition and Lighting
Composition guides the viewer's eye through the frame. Ensure vertical lines like door frames and windows are straight; a tripod helps. Consider the rule of thirds and include a foreground element, like the edge of a sofa, to add depth.
Natural light is your most valuable asset. Turn off artificial lights except where they add warmth, as they create unnatural colour casts. Shoot during the day and use the polarising filter to control reflections. The goal is a bright, airy feel that accurately represents the space.
Capturing the Exterior and Curb Appeal
The exterior shot is the first impression, often the main listing image. The golden hour provides the most flattering light for the facade (nppa.org). Capture the front straight-on, ensuring the garden is tidy and cars are moved. This shot should entice guests to imagine arriving for their holiday.
Best Camera Settings for Property Photography
The right settings depend on your equipment. A DSLR or mirrorless camera offers manual control, but a modern smartphone can produce excellent results when you override its automatic decisions. Below are two distinct workflows.
For DSLR and Mirrorless Cameras
Shoot in manual mode for consistent, high-quality results and a uniform look across all images (cambridgeincolour.com). A solid starting point is an aperture of f/8, which keeps the entire room sharp. If the room is dark, open up to f/5.6, but this will soften the background slightly.
Set your ISO as low as possible (ideally 100 or 200) to minimise noise. Shutter speed depends on ambient light; with a tripod you can use slower speeds, but be cautious below 1/30th of a second if there is movement in the frame. Set white balance to "daylight" or "cloudy" for consistent colour temperature rather than relying on auto mode.
For Smartphones
Smartphones have tiny sensors that struggle in low light, so maximise available light. Open all curtains and blinds fully and turn on internal lights to supplement natural light, the opposite of the DSLR approach, as phone cameras are less prone to colour casts.
Avoid digital zoom at all costs, it crops into the image and reduces quality. Instead, physically move closer or use the ultra-wide lens (0.5x or 0.6x on most modern phones), which is essential for capturing a full room. The standard 1x lens is often not wide enough for interiors.
Set exposure manually by tapping the screen and dragging the sun icon down slightly to prevent overexposed windows. If your phone allows it, lock focus and exposure with "AE/AF Lock" to prevent inconsistent brightness between shots.
For sharpest results, use a phone tripod or prop the phone against a stable surface. Use the self-timer (3 or 5 seconds) to avoid camera shake from tapping the shutter, a simple trick that dramatically improves sharpness in low light.
A Note on HDR and Bracketing
Most smartphones have an HDR mode that blends multiple exposures, useful for scenes with bright windows and darker interiors. However, HDR can look unnatural with halos around objects, review shots carefully and disable it if results look artificial. On a DSLR, bracket your exposures (one correct, one underexposed, one overexposed) and blend them in post-production. This advanced technique is the only way to capture a view through a window without losing detail in the room.
Common Mistakes to Avoid When Shooting a Let
Many owners make avoidable errors. The most common is relying on a standard lens, which cannot capture a room's full width, making spaces feel small. A wide-angle lens is essential to showcase true proportions.
Another frequent mistake is shooting in the evening with artificial lighting, which results in dark, gloomy images with a yellow or orange cast. Natural light is always preferable. Overexposing windows is a related issue; manage it by exposing for the window and using flash to fill the darker interior.
Finally, avoid shooting from standing height in the middle of a room, which distorts the space. Stick to corner positions and a lower camera height for a more professional result.
The Post-Production Workflow: Where Most DIY Photographers Stop
Most guides end at the shoot, but editing is where images transform from good to listing-ready. Skipping this step is the single biggest mistake DIY photographers make. Here is a basic workflow using free or low-cost software like GIMP, Snapseed, or built-in tools on Apple and Windows devices.
Step 1: Cull ruthlessly. Delete blurry, poorly exposed, or redundant shots. You only need 15-20 strong images; weak ones dilute overall quality.
Step 2: Correct the white balance. If images have a yellow or blue cast, use the eyedropper tool on a neutral white or grey surface, such as a white wall or bedding. This instantly corrects colour temperature.
Step 3: Adjust exposure and contrast. Brighten underexposed areas slightly without blowing out window highlights. Increase contrast by 5-10% to add depth.
Step 4: Straighten vertical lines. Even with a tripod, verticals can converge. Use the "Transform" or "Geometry" tool to correct this, straight verticals are the hallmark of professional property photography.
Step 5: Crop for composition. Remove distracting elements at the edges and re-frame to better follow the rule of thirds.
The Legal Angle: What Not to Photograph
A unique consideration for holiday lets is legally required safety equipment. Fire safety signs, emergency exit routes, and gas safety certificates are mandatory in the UK, but they do not belong in marketing photos (gov.uk). Remove or conceal temporary notices before the shoot. For permanent items like fire extinguishers, position your camera angle to exclude them or crop them out in post-production. You can include a separate photo of safety equipment in a dedicated listing section, but keep it out of the main marketing gallery.
The Benefits of Professional Property Photography
While the DIY approach can improve a listing, professional property photography brings experience, high-end equipment, and an objective eye, translating directly into a higher return on investment. High-quality visuals increase engagement, leading to more enquiries and higher booking potential.
Professionals also manage the entire process, from styling advice to post-production, saving you time and ensuring a polished, consistent result. Crucially, photographers like those at Property Home Photos create a visual story that highlights unique features and lifestyle, delivering images that are both aspirational and accurate, reducing the risk of guest disappointment.
Conclusion: Your Next Steps to a Better Listing
Improving your holiday let photography is a direct path to increasing rental income. Whether you refine your own technique or delegate to a specialist, focus on presenting a clean, well-lit, accurately styled property that tells a compelling story.
For owners who prefer a guaranteed, high-quality result without the learning curve, a professional service is the most efficient solution. Property Home Photos provides a tailored and punctual shoot with photographer Mark Henry Rood, ensuring your property is captured at its best. With a satisfaction guarantee and a turnaround planned around your listing dates, you can launch your marketing with confidence. Request a quote to see how professional imagery can elevate your holiday let's appeal and secure more bookings.
Frequently Asked Questions
What is the best time of day to photograph a holiday let?
The best time is during the 'golden hour', shortly after sunrise or before sunset, when natural light is soft and warm. For interiors, schedule your shoot for mid-morning when daylight floods the main living areas. You can photograph different rooms as the sun moves, prioritising the spaces where guests spend the most time. Overcast days also work well, as cloud cover diffuses light and reduces harsh shadows, making it easier to balance exposure across a room.
Should I use a wide-angle lens for property photography?
Yes, a wide-angle lens is essential for property photography. It allows you to capture an entire room in a single frame, showing the layout and flow to potential guests. However, be cautious of distortion. Keep the camera level and avoid placing key features at the extreme edges of the frame. A focal length between 16mm and 24mm on a full-frame camera is a good starting point for most interiors.
How do I prepare a holiday let for a professional photoshoot?
Preparation is key. Start with a deep clean, paying attention to skirting boards, light switches, and windows. Then, focus on dressing the space: declutter surfaces, fluff cushions, and add fresh towels in the bathroom. Ensure all personal items are removed. Finally, switch on all lamps to add warmth, open curtains to maximise natural light, and check that every light bulb works. This stage is vital for creating a photogenic space.
Is professional property photography worth the investment for holiday rentals?
Yes. High-quality imagery directly influences booking potential by building trust and creating desire. A professional photographer knows how to use composition, lighting, and post-processing to present your property in its best light, which helps it stand out against the competition. This presentation can lead to higher perceived value, allowing you to justify your pricing and increase rental income, making the investment a worthwhile part of your visual marketing strategy.