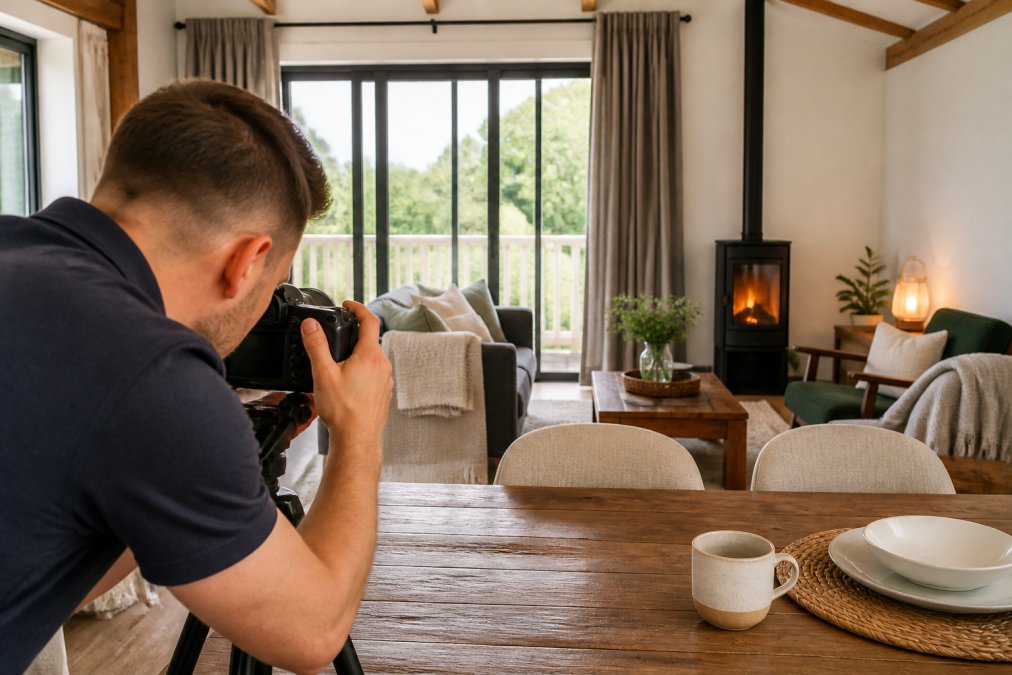
 how-to
Tips for Better Airbnb Photos: A How-To Guide
Table of Contents
- Why Better Airbnb Photos Drive More Bookings
- Step 1: How to Stage a Property for Photos
- Step 2: Essential Equipment for Property Photography
- Step 3: Master Composition and Lighting Techniques
- Step 4: Capture Every Room and Property Layout
- Step 5: How to Increase Holiday Let Bookings with Video
- Step 6: Post-Processing and Image Quality Standards
- Common Photography Mistakes That Lose Bookings
- Frequently Asked Questions
Last Updated: September 22, 2026
Why Better Airbnb Photos Drive More Bookings
The difference between a property that books consistently and one that sits empty often comes down to a single factor: image quality. When potential guests scroll through listings, they decide within seconds whether to click deeper. Poor photos mean they never do.
Better Airbnb photos aren't just about looking nice. They remove doubt. They help guests understand the actual layout, finishes, and atmosphere before they commit. Properties with professional-quality imagery see higher inquiry rates, faster booking cycles, and fewer complaints from guests who arrive expecting something different.
The right visual approach can transform a listing's performance. The difference isn't always about expensive equipment or complex editing. Often it's about understanding what guests actually need to see, how to capture it clearly, and how to present it in a way that builds confidence.
Below, we'll walk through the specific techniques that work. Whether you're photographing a holiday let, a hospitality venue, or a residential property, these steps will help you create better Airbnb photos that convert browsers into bookers.
Step 1: How to Stage a Property for Photos
Before you pick up a camera, the property itself needs to be ready. Staging transforms ordinary spaces into inviting ones. It's not about hiding the property, it's about showing it at its absolute best.
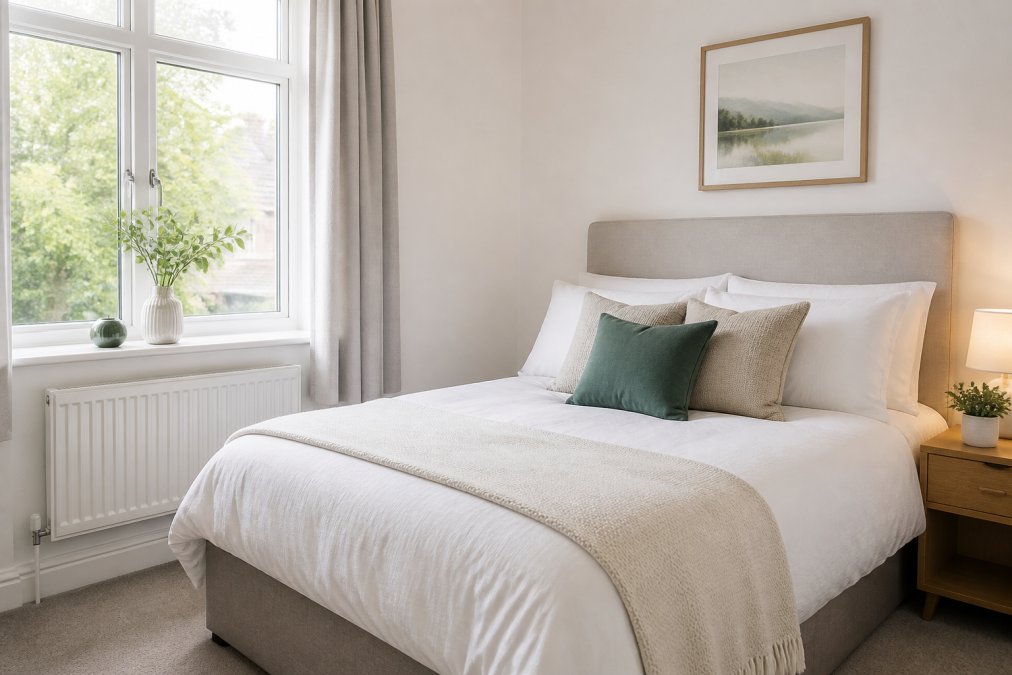
Decluttering and Preparing Each Room
Empty rooms photograph better than cluttered ones. Remove personal items, excess furniture, and anything that doesn't serve the space. Clear kitchen counters except for a few decorative items. Remove family photos from walls and shelves. Tidy bedding. Close wardrobe doors.
The goal is visual clarity. Guests need to see the room itself, not your belongings.
A few practical steps:
- Remove 40-50% of what's currently in each room
- Put away cleaning supplies, toiletries, and personal care items
- Clear dining tables completely
- Ensure floors are visible and clean
- Dust all surfaces before the shoot
Small touches add warmth without clutter. A fresh coffee mug on the kitchen counter works. Decorative pillows on the sofa work. Anything that looks staged or excessive doesn't.
Creating Visual Flow and Focal Points
Every room needs a reason to look at it. That reason is called a focal point. It's the first thing the eye lands on when viewing the photo.
For a bedroom, the focal point is the bed. Make it inviting. Fresh, high-quality linens matter. Add a throw blanket or two. For a living room, it might be a fireplace, a view out a window, or a well-arranged seating area. For a kitchen, it's often the counters and appliances, or a dining setup.
Arrange furniture to guide the viewer's eye through the space. Create sightlines that show depth and layout. Don't push everything against the walls, that makes rooms feel smaller and less usable.
Step 2: Essential Equipment for Property Photography
You don't need professional gear to capture better Airbnb photos. But the right tools make a real difference. The question is whether to invest in equipment or work with a professional who already has it.
Camera and Lens Choices
A wide-angle lens is essential for property photography. It captures more of the room in a single frame, showing layout and scale. A 16-35mm lens (on a full-frame camera) or 10-24mm (on a crop-sensor camera) works well for interiors.
For those investing in a camera setup:
- A mirrorless or DSLR camera body (entry-level models work fine)
- A wide-angle lens (the most important piece)
- A sturdy tripod (prevents blurry shots)
- Basic lighting equipment if natural light isn't sufficient
The reality: professional-grade equipment costs £1,000-3,000 to start. Many property owners find it makes more sense to hire a photographer who owns this equipment already and knows how to use it effectively.
Smartphone Settings and Alternatives
Modern smartphones produce surprisingly good photos. The limitation isn't the camera, it's the lens. Most phones have a standard focal length that doesn't capture enough of a room.
If using a smartphone:
- Use portrait mode or wide-angle mode if available
- Clean the lens before shooting
- Avoid using digital zoom (it reduces quality)
- Shoot in good natural light
- Use a smartphone tripod for stability
Some phones now include ultra-wide lenses, which perform better for interiors. However, even the best smartphone struggles with the depth of field and dynamic range that a dedicated wide-angle lens provides.
The practical choice: if you're serious about better Airbnb photos, smartphone photography has limits. Professional equipment or professional help produces noticeably better results.
Step 3: Master Composition and Lighting Techniques
How you frame and light a shot determines whether the photo looks amateur or professional. These two elements matter more than equipment.
Using Natural Light and Golden Hour
Natural light is your best tool. It's free, it's flattering, and it makes spaces feel warm and welcoming. The challenge is timing.
Golden hour, the first hour after sunrise or the last hour before sunset, produces the most flattering light. It's warm, directional, and creates depth. Avoid shooting in harsh midday sun, which creates blown-out highlights and deep shadows that don't show detail.
For most properties:
- Shoot in the morning (7-10 AM) or late afternoon (4-7 PM)
- Open all curtains and blinds to maximize light
- Turn on interior lights if the room feels dark
- Avoid shooting directly into windows (it creates silhouettes)
- Use white balance settings to match the colour temperature of the light
Overcast days work well too. The light is even and soft, with no harsh shadows. It's less dramatic than golden hour, but it's consistent and shows details clearly.
Applying the Rule of Thirds and Eye-Level Shots
The rule of thirds is a composition technique that makes photos more visually interesting. Imagine dividing the frame into nine equal sections with two horizontal and two vertical lines. Place important elements along these lines, not in the center.
For property photography, this means:
- Align the horizon line (where walls meet ceiling) along the upper or lower third
- Position focal points (like a fireplace or bed) along a vertical third line
- Avoid centering everything
Eye-level shots are critical. Photograph from a seated or standing perspective, roughly 1.2-1.5 meters from the ground. This is how guests will actually experience the space.
Step 4: Capture Every Room and Property Layout
Guests need to understand the full property layout. That means photographing every room, every angle, and key details that affect their decision.
Include shots that show:
- How rooms connect to each other
- The size and proportion of spaces
- Windows, views, and natural light
- Storage and closet space
- Bathroom fixtures and condition
- Kitchen appliances and counter space
- Any outdoor areas (garden, patio, balcony)
Step 5: How to Increase Holiday Let Bookings with Video
Photos show the property. Video shows the experience. Adding video to your listing significantly increases engagement and booking rates.
Video Walkthroughs and 360-Degree Tours
A video walkthrough is a 60-90 second tour of the property. Start at the entrance and move through each room naturally, pausing briefly at key features. Speak clearly about what you're showing. Mention the number of bedrooms, the kitchen setup, outdoor space, and any special amenities.
Mobile-First Optimisation for Listing Conversion
Most guests browse listings on their phones. Your photos and videos need to work on small screens.
Step 6: Post-Processing and Image Quality Standards
Raw photos often need adjustment. Post-processing isn't about making images unrealistic, it's about showing the space as guests will actually experience it.
Exposure, White Balance, and Colour Temperature
Exposure is how bright or dark the image is. Underexposed photos look gloomy. Overexposed photos look washed out. Aim for balanced exposure that shows detail in both bright and dark areas.
Simple adjustments:
- Increase exposure slightly if the room feels dark
- Adjust white balance to match the actual lighting in the room
- Boost contrast slightly to add depth
- Ensure colours are accurate (not oversaturated)
File Size, Resolution, and Aspect Ratio Optimisation
High resolution matters for detail. Aim for at least 2,000 pixels on the long side. This allows guests to zoom in and see finishes clearly.
Common Photography Mistakes That Lose Bookings
Understanding what doesn't work is as important as knowing what does.
Frequently Asked Questions
How can I make my holiday let photos look more professional without hiring a photographer?
Start with high-resolution images shot in natural light during golden hour, use a wide-angle lens to capture the full property layout, and apply the rule of thirds for balanced composition. Declutter thoroughly, stage focal points like the bed or seating area, and shoot from eye-level to show how guests experience the space. Post-processing tools can improve exposure and white balance. However, professional photographers bring expertise in visual storytelling and lighting that significantly boosts listing conversion rates.
What is the 80/20 rule in Airbnb photography?
The 80/20 rule suggests that 80% of your photos should showcase the property's best features and most-used spaces (bedrooms, kitchen, living areas), while 20% can show details, amenities, and unique touches. This approach ensures guests get a clear sense of the layout and quality first, then discover special features that create emotional connection and encourage booking.
How many photos should a holiday let listing have?
Most successful holiday let listings include 15-25 high-quality images covering every room, outdoor spaces, amenities, and key details. This depth helps guests understand the full property layout and reduces booking hesitation. Include wide-angle shots for context, medium shots for room-level detail, and close-ups of premium features like appliances or views. Video walkthroughs and 360-degree tours complement static images and further increase guest confidence.
Should I hire a professional photographer for my holiday let?
Professional photographers deliver significantly higher listing conversion rates through expertise in composition, natural light, staging, and post-processing. They understand visual storytelling and how to highlight property layout and guest experience. For small operations with 8-10 bookings monthly, the return on professional imagery typically justifies the investment through increased enquiries and faster bookings. DIY photography requires substantial time investment and equipment knowledge to match professional results.