 how-to
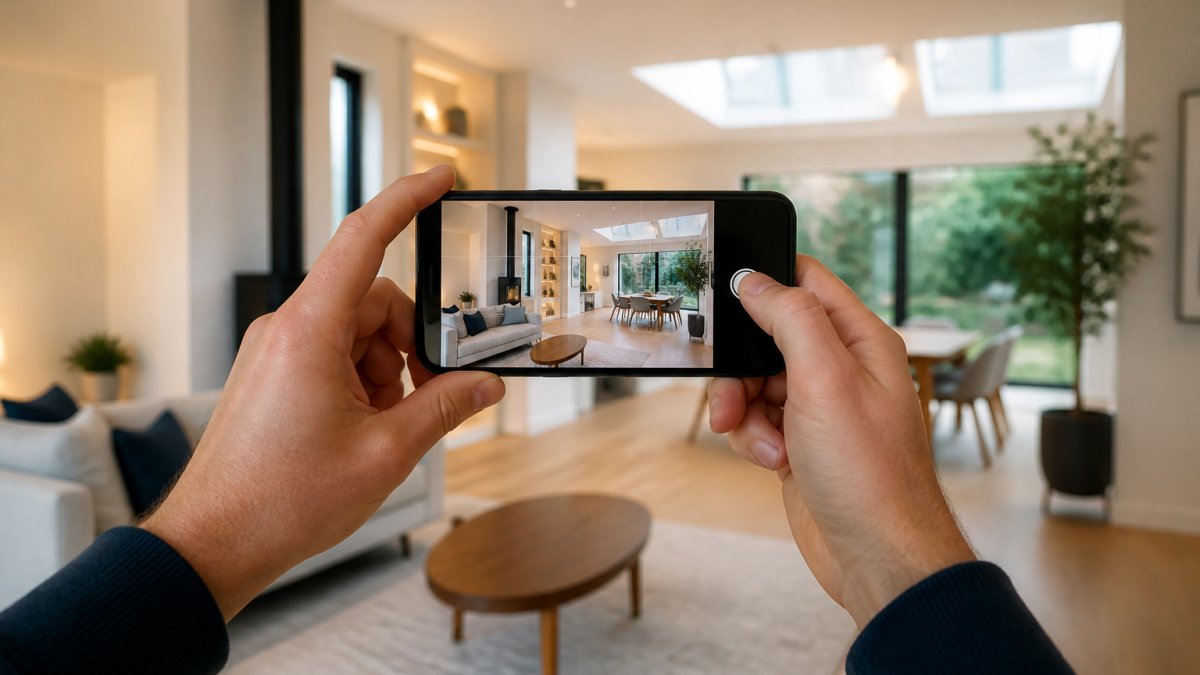
How to Shoot Property Photos With a Smartphone
Table of Contents
- Why Smartphone Photography Works for Property Listings
- Best Phone Settings for Real Estate Photography
- How to Photograph a Room: Position, Angle, and Framing
- Lighting and Composition: Capturing Space and Atmosphere
- DIY Property Photography: A Room-by-Room Workflow
- Property Photo Editing Tips for Listing-Ready Images
- Common Mistakes to Avoid When Shooting Property Photos
- When to Choose Professional Photography Over DIY
- Frequently Asked Questions
Last Updated: October 6, 2026
Why Smartphone Photography Works for Property Listings
Smartphone cameras now capture sharp, detailed images that rival dedicated cameras from a few years ago, making them an attractive option for property owners and agents who need quick, professional-looking shots.
But quality property photos require more than pointing and shooting. This guide walks you through exactly how to shoot property photos with a smartphone so your listings stand out.
At Property Home Photos, we work with property owners and agents who want to maximise their online presence. Whether you're preparing a property for sale, running a holiday let, or marketing a commercial space, strong visual content drives enquiries.
Best Phone Settings for Real Estate Photography
Your smartphone's camera settings dramatically affect image quality. Understanding exposure, white balance, and capture modes gives you control.
Exposure and focus control
Exposure determines how bright or dark your image appears. Most phones adjust it automatically, but manual control produces better property photos. Tap the screen to set focus and exposure on the room's main feature or the wall you're facing.
Hold your finger on the screen until a lock icon appears, locking focus and exposure. Slide up or down to brighten or darken the image before shooting, preventing overexposed windows or underexposed interiors.
For rooms with bright windows, expose for the interior and let the window blow out slightly, viewers care more about seeing the room details than the outdoor view.
White balance and colour accuracy
White balance controls how warm or cool your image looks. Automatic white balance often struggles indoors under artificial lighting, so manual correction ensures colours appear natural.
Look for white balance options in your camera app, often labelled "Tungsten" (warm, indoor lighting), "Daylight" (neutral), or "Cloudy" (cool). Match the option to your lighting: Tungsten under warm bulbs, Daylight for natural light.
If your phone offers a manual white balance slider, tap a white object in the room, a wall, door frame, or paper, to set a neutral reference point for more accurate colours.
HDR mode and RAW capture
HDR (High Dynamic Range) mode captures multiple exposures and blends them, preserving detail in both bright and dark areas, crucial when windows and shadows compete. Enable it before shooting and keep the phone steady, as the shot takes longer.
RAW capture (on newer phones and some apps) records all sensor data without processing, giving maximum editing flexibility for exposure, white balance, and contrast with minimal quality loss. Enable it for important shots; files are larger and need editing software but produce superior results.
How to Photograph a Room: Position, Angle, and Framing
Where you stand and how you hold your phone determines whether a room looks spacious or cramped. Positioning is one of the most important factors in property photography.
Choosing camera height and shooting position
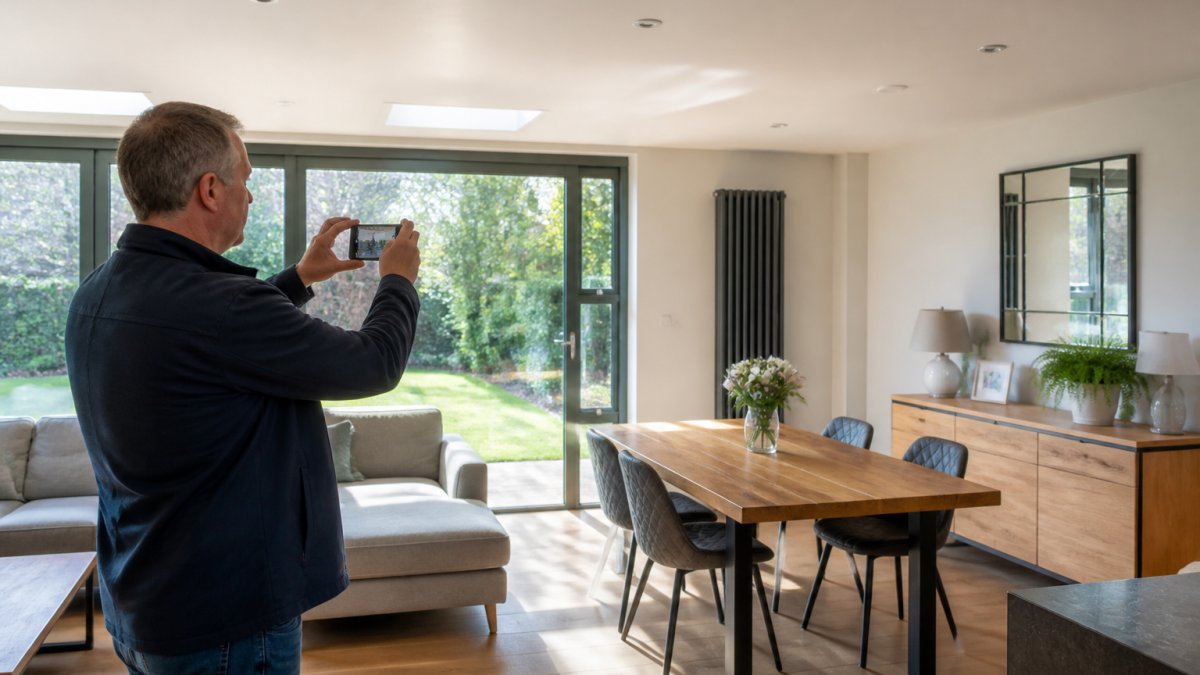
Stand approximately 1.5 metres from the wall or feature you're photographing, at chest height (roughly 1.2 to 1.5 metres above the floor). This mimics how people naturally view a room when standing, making the image feel familiar and welcoming.
Avoid waist height or above your head: low angles look cramped and high angles distort perspective. Chest height is the sweet spot for most interior shots.
For wider rooms, step back further and use a wide-angle lens if your phone has one. For smaller spaces, stay closer and use the standard lens.
Holding the phone level to avoid distorted lines
Keep your phone perfectly level so vertical lines in the room stay vertical in your image. Tilting up or down makes walls, door frames, and windows converge unnaturally.
Enable your camera app's grid overlay and align vertical architectural elements with the grid lines before each shot.
Converging lines can be corrected in editing, but prevention is easier. Spend a few seconds getting the phone level before pressing the shutter.
Using wide-angle lenses and panorama mode
Most modern smartphones have a wide-angle lens that captures a broader field of view, making rooms appear more spacious. Use it for most property shots to show entire rooms and their layout.
Panorama mode stitches multiple frames for an even wider view, ideal for long hallways, open-plan spaces, or exteriors. Move the phone slowly, level, and in one direction; moving too quickly or unevenly creates visible seams or distortion.
Lighting and Composition: Capturing Space and Atmosphere
Lighting transforms a mediocre shot into a compelling one. Natural light is your strongest asset for property photography.
Using natural light and opening curtains
Natural light from windows creates soft, flattering illumination, so open all curtains and blinds before shooting. Avoid dark rooms: viewers struggle to imagine the space, and dim interiors suggest problems you're hiding.
Position yourself so light falls across the room rather than into your lens. With a window behind you, light bounces off surfaces and illuminates evenly; with a window in front, expose for the interior and accept a blown-out window.
Avoid shooting directly into bright windows or sunlight, which creates harsh shadows and silhouettes. Early morning, late afternoon, or overcast days produce the most flattering diffused light.
Preparing and decluttering the property
A cluttered room distracts viewers and looks smaller. Remove personal items and clutter: clear kitchen counters, make beds, and remove excessive toys, books, and decorations.
A clean, minimal space helps viewers imagine themselves in the property. This doesn't mean sterile, a few tasteful items add warmth, but every object should serve a purpose.
Vacuum carpets and sweep hard floors. Dirty floors signal neglect even if the rest of the room is clean, and they occupy significant space in photos.
Composing rooms to show space and flow
Compose shots to reveal the room's layout and how spaces connect. Include doorways, transitions, and furniture arrangement to help viewers understand the property's flow.
Use leading lines, doorways, hallways, and countertops to guide the viewer's eye, and include multiple rooms in one shot when possible to show how spaces relate.
Frame shots to emphasise room size: include corners and walls to show depth, and avoid tight framing that crops out context.
DIY Property Photography: A Room-by-Room Workflow
A systematic approach ensures you capture all important angles and don't miss critical shots.
Planning your shot sequence
Plan your sequence before you start. For a typical home, shoot in this order:
- Exterior: front entrance, garden, driveway, garage
- Entrance hallway
- Living room or lounge
- Kitchen
- Dining area
- Main bedroom
- Additional bedrooms
- Bathrooms
- Utility areas
For each room, shoot at least two angles: the full room from the doorway plus specific features like fireplaces, built-in storage, or window views.
Shoot all photos within a 2-3 hour window so lighting, brightness, and colour stay consistent.
Keeping the phone steady to prevent blur
Blur destroys image quality, so a steady phone is essential. Hold it with both hands and tuck your elbows against your body for stability.
For critical shots, use a tripod at chest height and trigger with the self-timer or volume button to prevent shake from pressing the shutter.
Without a tripod, brace the phone against a chair, doorframe, or counter and use the self-timer so you don't touch it.
Property Photo Editing Tips for Listing-Ready Images
Basic editing enhances your images and makes them more appealing to buyers or renters.
Adjusting brightness and colour correction
Most phones include built-in editing tools. Open your photo, tap "Edit", and increase brightness slightly if needed, rooms should look inviting and well-lit.
Increase contrast moderately to make details pop, and lift shadows carefully to reveal dimly lit corners without an artificial look.
Colour correction ensures whites look white. If the image has a yellow or blue cast, adjust the temperature slider: cooler images feel cold, warmer ones cosy but artificial if overdone. Aim for neutral, natural colours.
Straightening and cropping for impact
If vertical lines converge despite your efforts, use the straighten slider in most editing apps to rotate the image until they align with the frame edges.
Crop to remove distracting elements and empty floor or wall space, focusing on the room's main features. A tighter crop is often more compelling than a wide, empty frame.
Avoid extreme cropping that removes context viewers need to understand the room's layout and proportions.
Common Mistakes to Avoid When Shooting Property Photos
Tilted horizons and converging lines, The most common mistake.
Overexposed windows, Expose for the interior instead and accept that windows will appear bright.
Underlit interiors, Open curtains fully, shoot during daylight, and use HDR mode to preserve shadow detail.
Inconsistent lighting, Shoot all images within a 2-3 hour window to keep colour temperature and brightness consistent.
Blurry images, Use a tripod or brace the phone firmly, and avoid low light without stabilisation.
Poor composition, Stand at chest height, approximately 1.5 metres from the wall you're photographing.
When to Choose Professional Photography Over DIY
Smartphone photography works well for quick listings and personal projects. Professional photography delivers significantly better results for serious marketing efforts.
Consider professional photography for high-value properties, holiday lets that depend on bookings, or commercial spaces. Professionals have better equipment, advanced lighting skills, and can shoot video and immersive content smartphone photos cannot match.
Property Home Photos specialises in professional real estate photography and video for homes, holiday lets, hospitality venues, and commercial spaces.
For properties where visual presentation directly affects your business, professional photography is a smart choice.
Learning how to shoot property photos with a smartphone gives you control over your property's online presentation.
Frequently Asked Questions
Can smartphone photos be good enough for a property listing?
Yes. Modern smartphones capture sharp, detailed images suitable for property listings when you control exposure, focus, and composition. The key is mastering camera settings, using natural light effectively, and editing for colour accuracy. Many successful listings rely entirely on smartphone photography. The difference between amateur and professional-looking results comes from technique, not equipment cost.
What smartphone settings are best for real estate photography?
Enable HDR mode to balance bright windows with interior shadows. Lock exposure and focus by tapping and holding on your subject. Use RAW format if your phone supports it for greater editing flexibility. Set white balance to auto or daylight mode to preserve accurate colour. Disable digital zoom and use your phone's native wide-angle lens instead. These settings work across most modern smartphones and produce listing-ready images.
How do I make a room look bigger in photos without distorting it?
Position your phone at chest height (roughly 1.5 metres) to show the room naturally without exaggerated perspective. Use your phone's wide-angle lens, not digital zoom. Declutter thoroughly and open curtains to maximise light and apparent space. Shoot from one corner to reveal depth and flow. Avoid extreme angles or panorama mode, which distorts vertical lines and makes rooms look unnatural. Proper framing and positioning matter more than lens tricks.
How should I edit property photos on my phone?
Adjust brightness and contrast first to fix exposure imbalances from windows. Correct white balance to ensure walls and furniture show their true colour. Straighten any tilted horizons or vertical lines using your phone's crop or rotate tool. Increase sharpness slightly if images feel soft. Avoid over-saturating colours or applying filters that distort reality. Use editing apps like Snapseed, Adobe Lightroom Mobile, or your phone's native editor. The goal is to enhance what's there, not create a false impression of the property.