 how-to
Real Estate Photography Checklist for Beginners
Table of Contents
- What You'll Need Before Your First Real Estate Photography Shoot
- How to Prepare a Home for Photography: A Step-by-Step Approach
- Building Your Real Estate Photography Shot List
- Professional vs DIY Property Photography: What You Should Know
- Real Estate Photography Checklist for Beginners
- Common Mistakes to Avoid
- Frequently Asked Questions
Last Updated: October 2, 2026
What You'll Need Before Your First Real Estate Photography Shoot
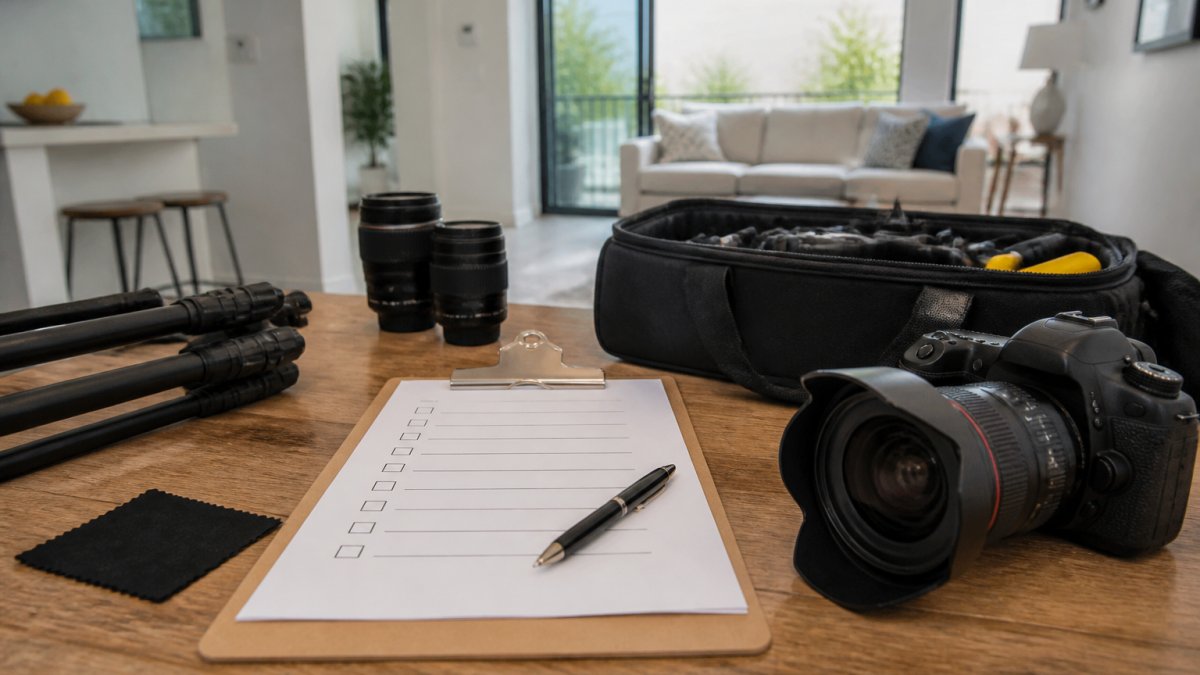
A successful real estate photography shoot requires a few essential pieces of equipment that make a real difference in image quality.
A DSLR or mirrorless camera with manual controls, a sturdy tripod, and a wide-angle lens (16-35mm) are your foundation.
Natural light is free and flattering, but backup lighting is essential. An external flash or reflectors balance shadows; a remote shutter release prevents camera shake.
Allow at least 2-3 hours for a typical residential shoot, including setup, multiple angles, and light adjustments.
How to Prepare a Home for Photography: A Step-by-Step Approach
Interior Preparation
Start by decluttering ruthlessly. Remove personal items, family photos, and excess furniture.
Deep clean every surface, dust, fingerprints, and smudges show up in photos. Pay special attention to light switches, door handles, and mirrors.
Arrange furniture to show space and flow. Open curtains and blinds fully to maximise natural light. Close toilet lids and shower doors.
Turn on all interior lights before shooting to prevent dark corners. Layer in table lamps and wall sconces for warmth; avoid harsh overhead lights alone.
Exterior and Curb Appeal
Kerb appeal determines whether people want to see the interior. Pressure wash driveways and paths, trim hedges, mow the lawn, and remove garden clutter.
Paint the front door a fresh, neutral colour if tired. Add potted plants near the entrance and clean all windows until they sparkle.
Remove bins from view and park cars elsewhere if possible. Clear gutters and downpipes, these details signal maintenance and care.
Shoot exteriors during golden hour (early morning or late afternoon) for warm, flattering light.
Building Your Real Estate Photography Shot List
A real estate photography shot list ensures you capture every angle and space without missing key rooms or details.
Start with exterior shots:
- Wide shot of the entire front of the property
- Close-up of the front door and entrance
- Driveway and garage (if applicable)
- Garden or outdoor space from multiple angles
- Side and rear views of the property
Move indoors systematically:
- Each room from the doorway (wide-angle shot showing the full space)
- Close-ups of key features (fireplace, built-in shelving, views from windows)
- Kitchen from multiple angles, including appliances and counters
- Bathrooms (toilet, sink, shower/bath)
- Hallways and stairs
- Bedroom views and built-in storage
- Laundry room or utility spaces
Capture lifestyle moments, a coffee cup on the counter or a throw blanket on the sofa, to make spaces feel lived-in and desirable.
Take multiple shots of each room from different positions, doorway, corners, eye level, to give editors options and enable virtual tours.
Professional vs DIY Property Photography: What You Should Know
Both professional and DIY photography have genuine trade-offs worth understanding before you commit.
DIY Photography: When It Makes Sense
DIY photography costs significantly less and gives you full creative control. You know your property intimately, its best angles, light patterns, and buyer-appealing features.
DIY works best for:
- Properties you're selling privately without an agent
- Rental properties where you shoot regularly and can build a consistent style
- Properties in slower markets where professional photography isn't yet expected
- Situations where you have time to learn and iterate
DIY has real technical limitations. Exposure control is the biggest challenge, images are often too dark or have blown-out windows. Composition mistakes (tilted horizons, awkward angles, perspective distortion) are common.
Time is a hidden cost: 3-5 hours shooting plus 15-30 minutes editing per image. A 20-image shoot requires 10-15 hours total, with weaker results on your first 5-10 shoots.
Professional Photography: What You're Paying For
Professional photographers bring technical expertise: they expose for mixed lighting, manage white balance, and compose shots that make rooms feel larger.
Professional-grade equipment costs £3,000-£8,000+, but professionals amortise this across many shoots.
Professionals deliver edited images within 3-7 days, protecting your listing launch date. Consistent editing style across all images builds buyer confidence.
Professional photography is essential for:
- Properties in competitive markets where professional imagery is the norm
- High-value properties where poor photos directly cost you money
- Holiday lets and serviced accommodation, where guests book almost entirely on photos
- Commercial properties, where professional presentation signals legitimacy
- Properties with complex lighting (period features, skylights, mixed natural and artificial light)
Cost typically ranges from £150-£400 for a residential property. This often recovers itself through faster sales or higher offers.
The Real Question: What Will Your Listing Compete Against?
The decision is about market expectations. If 80% of competing listings have professional photos, DIY images stand out negatively. Buyers assume poor photos mean poor maintenance. Professional imagery removes that doubt.
A practical middle ground: hire a professional for shooting and editing while doing your own staging. Alternatively, learn photography yourself but hire a professional for your most important listings.
Professional results can generate more enquiries. In fast-moving markets, this can determine whether your property sells in weeks or months.
Real Estate Photography Checklist for Beginners
Pre-Shoot Checklist
Before you arrive on site, confirm logistics and prepare mentally:
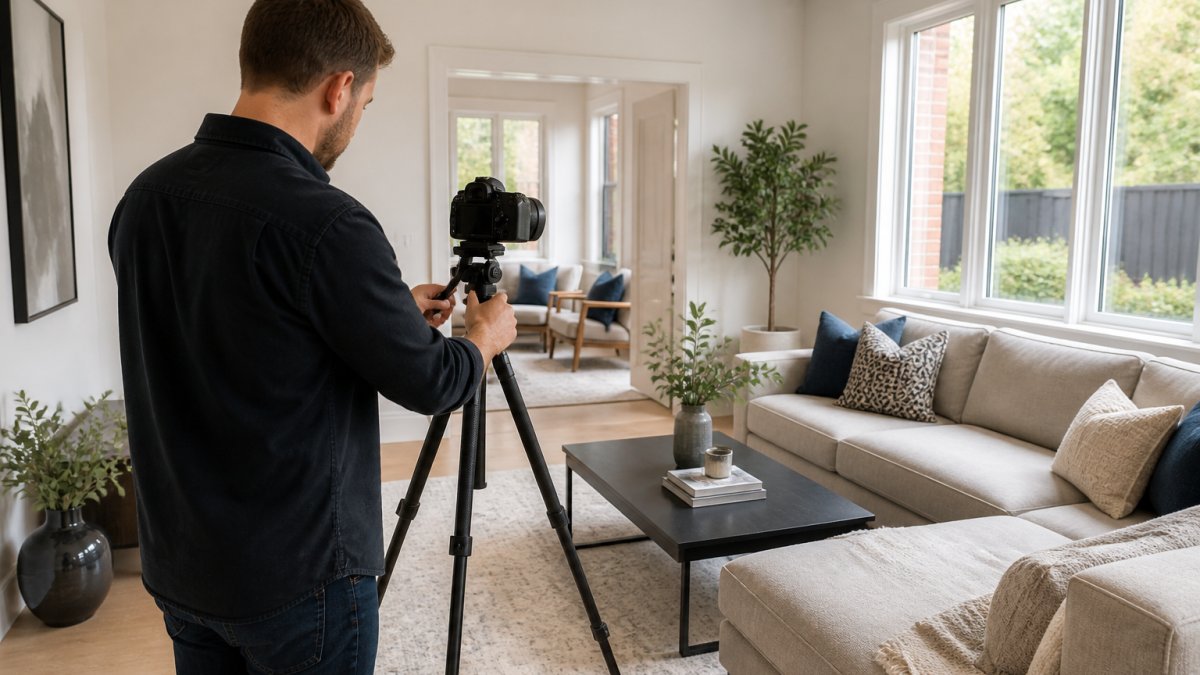
- Confirm shoot date, time, and address with the property owner
- Check weather forecast and plan for natural light conditions
- Charge all camera batteries fully (bring spares)
- Clean camera lens and sensor
- Format memory cards and back up previous shoots
- Test tripod setup at home
- Confirm you have all necessary lenses and adapters
- Plan your shot list based on property type and size
- Arrange parking if street parking is limited
- Bring backup lighting equipment (flash, reflectors)
- Arrive 15 minutes early to assess light and layout
On-Site Checklist
Once you're at the property, follow this sequence:
- Introduce yourself and confirm the property owner's expectations
- Walk through the entire property to plan your shot sequence
- Check all lights are on and windows are fully open
- Adjust curtains and blinds to maximise natural light
- Remove any remaining personal items or clutter
- Set camera to manual mode and test exposure
- Start with exterior shots during best light conditions
- Shoot each interior room from multiple angles
- Capture detail shots of key features
- Take wide-angle shots from doorways to show full room dimensions
- Verify you've covered every room and angle on your shot list
- Review images on camera before leaving (check focus and exposure)
- Thank the property owner and confirm next steps
Weather Contingency Planning
Weather is the biggest variable beginners don't prepare for.
Overcast Days: Soft, diffused light eliminates harsh shadows and blown-out windows, ideal for interiors.
Rain and Wet Conditions: Postpone if possible. If you must shoot, focus on interiors.
Bright Sunshine: Close curtains slightly to reduce glare and compensate with interior lighting.
Golden Hour Shooting: Plan exterior shots for the hour after sunrise or before sunset.
Backup Plan: Schedule a rain date. If conditions are poor, reschedule rather than deliver mediocre images.
Post-Production: What Happens After the Shoot
Post-production is where amateur images become professional.
Straightening and Cropping: Straighten tilted horizons.
Virtual Staging (Optional but Increasingly Common): Virtual staging adds furniture and décor digitally to empty rooms.
Batch Processing for Consistency: Edit similar shots together for consistent colour, tone, and style.
Time Investment: Professional editors spend 20-30 minutes per image.
Common Post-Production Mistakes: Over-sharpening, over-saturation, excessive HDR, and aggressive shadow lifting create fake-looking images.
Delivery Format: Export as high-quality JPEGs (quality 85-90%), 2-4 MB per image.
Common Mistakes to Avoid
Beginners make predictable errors that undermine their work. Knowing these pitfalls helps you avoid them.
Shooting in harsh midday sun creates dark shadows and blown-out skies.
Forgetting to declutter is the most common mistake. Personal items distract from the property itself.
Poor composition wastes good light.
Underexposing images (making them too dark) is rampant in beginner work.
Ignoring the exterior costs you enquiries.
Shooting too quickly is a beginner trap.
Property photography is a learnable skill, but results improve dramatically with experience and proper preparation. Start with a solid checklist, invest in basic equipment, and take time to prepare each property. As you build confidence, you'll develop an eye for composition and lighting that elevates your work.
The real estate photography checklist for beginners becomes second nature with repetition.
Frequently Asked Questions
What are the must-have shots for a real estate photography shoot?
Essential shots include wide-angle views of each room, kitchen and bathroom close-ups, exterior facades, garden or outdoor space, and hallways showing property layout. Capture each room from multiple angles to give buyers a complete sense of flow. Include detail shots of unique features like fireplaces, built-in storage, or period details. Wide-angle lenses are vital for making rooms feel spacious and showing how spaces connect.
How do you prepare a home for professional photography?
Deep clean every surface, remove personal items and family photos, declutter shelves and countertops, and ensure lighting is optimal by opening all curtains and blinds. Stage rooms with neutral furnishings if empty, tidy gardens and remove garden clutter, repair any visible damage, and ensure exterior paintwork looks fresh. Coordinate timing to avoid shadows and harsh sunlight. Inform occupants to stay out of shot and manage pets during the shoot.
What's the difference between professional and DIY real estate photography?
Professional photographers use high-end camera gear, wide-angle lenses, tripods, and flash systems to achieve consistent exposure and composition. They understand lighting balance, use high dynamic range techniques, and apply post-processing to create magazine-ready images. DIY efforts often suffer from poor lighting, uneven exposure, and limited composition skills. Professional services deliver property listing photos that build buyer confidence faster, whilst DIY can appear amateur.
How long does a professional real estate photo shoot typically take?
A standard residential property shoot takes 2-4 hours depending on size, condition, and complexity. Smaller properties or holiday lets may take 1-2 hours, whilst larger homes or commercial spaces can require 4-6 hours. Twilight shoots for exterior ambiance add extra time. Professional photographers plan shoot duration around property size, number of rooms, and lighting conditions to ensure comprehensive coverage without rushing the process.