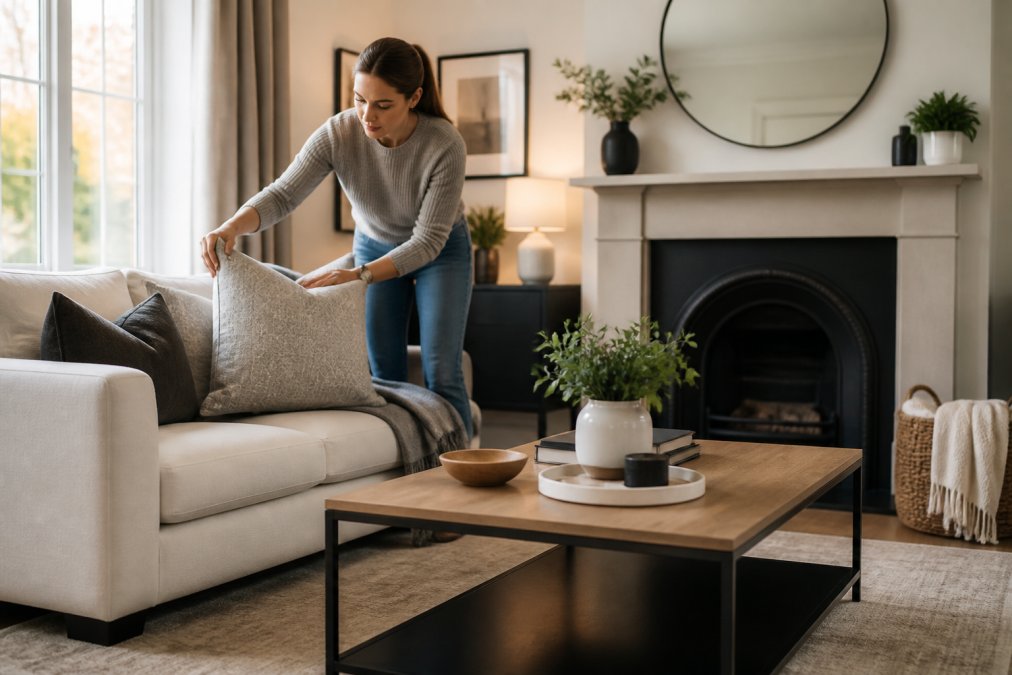
 how-to
How to Stage Property for Photos: A 2026 Guide
Table of Contents
- What You'll Need Before You Stage Property for Photos
- Step 1: Declutter and Depersonalise Every Room
- Step 2: Work Through a Home Staging Checklist for Sellers
- Step 3: Quick Home Staging Tips for Photography Day
- Step 4: Arrange Furniture for Camera Angles and Flow of Space
- Step 5: Can Professional Photos Fix Bad Lighting?
- Smartphone vs Professional Camera: What Actually Works
- Virtual Staging vs Physical Staging: Which Gets Better Results?
- Frequently Asked Questions
Last Updated: September 10, 2026
What You'll Need Before You Stage Property for Photos
Staging a stage property for photos means preparing, decluttering, and dressing a home so it photographs at its best. Get it right and your listing images sell before a single viewing is booked; get it wrong and even the sharpest camera captures a space that looks cramped, dark, or unloved.
We've seen the same pattern in hundreds of rooms: sellers obsess over the camera and ignore the room. The camera magnifies every flaw, so staging comes first.
Before you touch a cushion, gather these:
- Bin bags and storage boxes for clutter you're removing, not hiding
- Microfibre cloths and glass cleaner for windows, mirrors, and screens
- A neutral throw, two or three cushions, and a small vase for styling
- Replacement bulbs matched to the same colour temperature
- A notepad for your room-by-room shot list
A common mistake is buying new decor before decluttering. Declutter first: half the items you'd style with turn out to be clutter in disguise.
Step 1: Declutter and Depersonalise Every Room
Decluttering removes everything that distracts a buyer from the space itself. Depersonalising goes further: family photos, certificates, religious items, and personal collections pull attention onto the current owner. Buyers need to imagine themselves living there, and they can't if your life is on every surface.
Work through each room and remove roughly a third of what's on display. Kitchen worktops should hold one or two items at most. Bathrooms should look like a hotel: towels folded, toiletries hidden, bins emptied. Bedrooms need clear bedside tables and made beds.
Don't shove clutter into cupboards: buyers open them during viewings, and a stuffed cupboard reads as a storage problem. Box it, store it off-site if you can, and treat the process as the first stage of your move.
Step 2: Work Through a Home Staging Checklist for Sellers
A home staging checklist for sellers turns a vague task into a repeatable process. Work room by room, and don't move on until the current space passes.
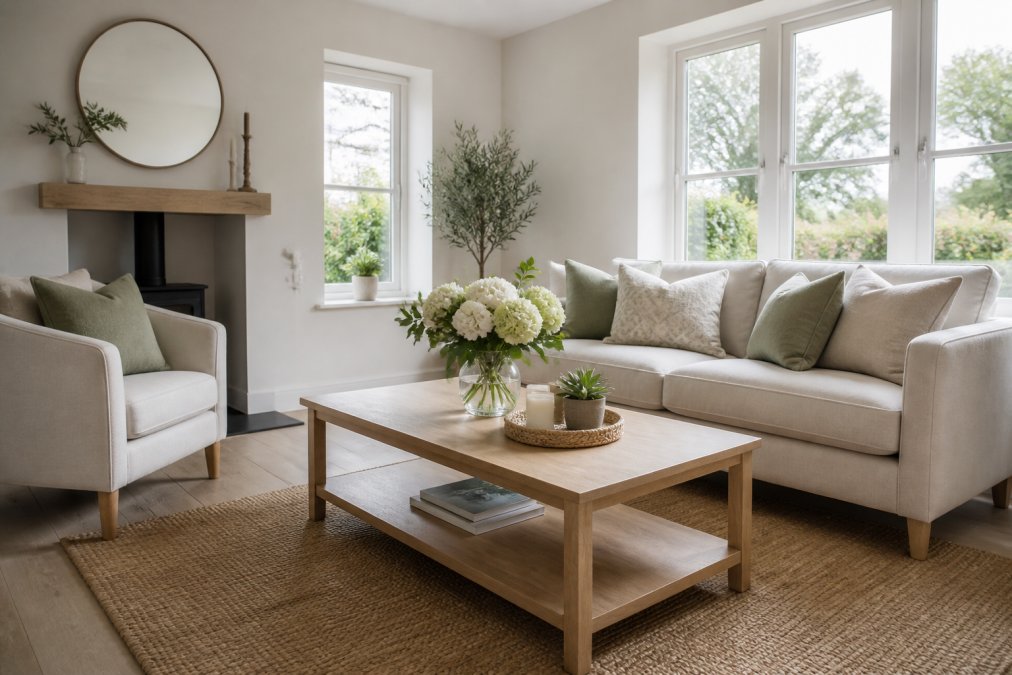
Room-by-Room Checklist: Living Areas, Bedrooms, and Kitchens
Living areas: clear coffee tables, angle sofas toward a focal point, add one throw and two cushions, remove remotes and cables. Bedrooms: neutral bedding, no laundry visible, clear bedside tables, open curtains fully. Kitchens: empty worktops except one styled item, hide bins and appliances, remove fridge magnets. Hallways and bathrooms: clear shoes and coats, fold towels, add a plant or candle for warmth.
Step 3: Quick Home Staging Tips for Photography Day
Quick home staging tips for photography matter most on the day itself, when time is short and the photographer is setting up. Treat the shoot like a viewing: the property should look its best for the full session, not just the wide shots.
- Turn on every lamp and switch off the overhead ceiling light
- Open all curtains and blinds, and clean the windows beforehand
- Remove bins, pet bowls, and bathroom mats from every frame
- Park cars away from the front of the property and clear the drive
- Put toilet seats down and hide all toiletries
- Move bins, wheelie bins included, out of the garden and driveway shots
Small details decide whether a listing looks professional or improvised, a wheelie bin in a garden shot undercuts everything else in the frame.
Step 4: Arrange Furniture for Camera Angles and Flow of Space
Furniture placement serves two masters: the camera and the buyer's sense of space. A wide-angle lens exaggerates whatever sits closest, so a sofa shoved against a wall looks flat while the empty floor in front of it looks vast. Pull furniture slightly away from walls, angle seating into conversational groupings, and leave clear walkways so the flow of space reads naturally.
Step 5: Can Professional Photos Fix Bad Lighting?
Professional photos cannot fix bad lighting, but they make the most of good lighting. A skilled photographer balances exposure, shoots at the right time of day, and uses a tripod to keep interiors sharp. No camera can rescue heavy curtains drawn, mismatched bulb temperatures, or a dark corner no editing will brighten convincingly.
Before the shoot, do the lighting groundwork yourself: clean windows inside and out, replace any blown bulbs, and match colour temperatures across a room so half the space isn't warm yellow and half cool white. Aim for a shoot time when natural light is soft and even, usually mid-morning or mid-afternoon. According to guidance from the Royal Institution of Chartered Surveyors on property presentation, accurate representation of a property matters for both marketing and valuation, which is why honest, well-lit images beat over-edited ones every time.
Smartphone vs Professional Camera: What Actually Works
For most listings, a professional camera wins on wide-angle coverage, low-light performance, and consistency. A modern smartphone works for a small rental or quick refresh, but struggles with the two things property photography demands most: capturing a full room without distortion and holding detail in a dim corner.
Here's the honest comparison:
| Factor | Smartphone | Professional camera |
|---|---|---|
| Wide-angle coverage | Good, with distortion at edges | Excellent, corrected in lens |
| Low-light detail | Limited, noisy in shadows | Strong, tripod-stabilised |
| Vertical line correction | Rarely accurate | Standard practice |
| Consistency across rooms | Varies shot to shot | Uniform set |
| Best for | Small lets, quick updates | Sales listings, venues, commercial |
The gap isn't the sensor, it's the process. A Which? guide to choosing a camera makes the same point: hardware matters less than knowing how to use it. If you're selling a family home, the difference in buyer appeal justifies the spend. If you're refreshing a single room in a holiday let, your phone may genuinely be enough.
Staging Adjustments That Only Matter on a Phone
If you are shooting on a phone, staging has to compensate for what the lens cannot do. These adjustments make the biggest difference, and none appear in standard staging advice.
Shoot from chest height, not eye level. Phone cameras have a narrower field of view than a professional wide-angle lens, so stand further back and lower the phone slightly. Chest height with the top edge tilted a fraction downward keeps verticals straighter and stops ceilings dominating the frame. A cheap tripod with a bubble level removes the guesswork.
Stage for a single hero angle per room. A professional captures three or four angles; a phone set gives you one strong shot per room, so decide which corner tells the best story before you move anything. Usually that means standing in the doorway, framing the window wall, and placing your key furniture item in the middle third of the frame.
Add light rather than brighten it in post. Phone sensors fall apart in shadow, and lifting shadows in an app produces the grey, grainy look that makes listings feel cheap. Instead, add a floor or table lamp just outside the frame on the dark side of the room, switched on and pointed at the ceiling, the cheapest way to fill a dark corner without a flash.
Turn off HDR and portrait modes. HDR flattens contrast and washes rooms out; portrait mode blurs edges and softens the architectural lines you are selling. Shoot in standard photo mode, tap to focus on the brightest part of the room, then drag the exposure slider down slightly so windows keep their detail.
Use a grid overlay for verticals. Most phone camera apps have a grid setting. Switch it on and line up door frames, window edges, and wall corners against the grid lines. This is the single biggest visual difference between a phone shot that looks professional and one that looks like a snapshot.
When a Phone Is Genuinely the Right Tool
A phone is right when the property is small, the listing is a rental refresh rather than a sale, or the budget won't stretch to a photographer. It's wrong for large open-plan spaces, dark interiors, or a price point where buyers expect a polished set. The rule most agents use: if the property is being sold rather than let, and has more than two reception rooms, book the professional.
If you are shooting on a phone, budget an extra hour of staging time per property. The staging has to do more work because the camera is doing less.
Virtual Staging vs Physical Staging: Which Gets Better Results?
Physical staging delivers better results for occupied homes; virtual staging suits empty properties where furniture would otherwise be absent. Physical staging is real furniture styled in the room and photographed as it stands. Virtual staging adds furniture digitally after the shoot, cheaper and faster, but buyers who arrive expecting the furniture they saw online feel misled.
If you're weighing the cost against your timeline, National Trading Standards guidance on property listings is clear that listings must not mislead, so accuracy isn't optional. That principle applies to staging as much as to square footage.
How Virtual Staging Actually Works
Virtual staging is not a filter. A designer takes your empty-room photograph and builds a digital scene on top: matching perspective, light direction, and floor plane, then placing furniture, rugs, and artwork so the room reads as furnished. A good job is almost indistinguishable from a real photograph at listing size; a bad one has floating furniture, impossible shadows, and a rug that ignores the floorboards.
The practical difference is what you can and cannot change. Virtual staging can add furniture, change wall colour, replace flooring, and remove a stray cable or a wall socket. It cannot fix a room that is genuinely too dark, a window with no view, or a layout that does not work. Those are physical problems and they need physical solutions before the shoot.
The Cost and Timeline Trade-Off
Physical staging costs more and takes longer: hiring furniture, moving it in, styling it, then removing it after the shoot. Virtual staging costs a fraction of that and turns around in a few days, which matters if your listing date is fixed and the property is already empty.
The trade-off isn't just money. Physical staging improves the viewing too, because the buyer walks into the room they saw online. Virtual staging only improves the listing image, and the gap between image and empty room is where disappointment lives. That's why labelling matters: a clearly labelled virtual image sets the right expectation, while an unlabelled one reads as a bait-and-switch.
The Post-Production Boundary: What Can Be Fixed Later
This is where sellers waste the most time: some problems are worth fixing in the room before the shoot, and some are cheaper to fix in post-production after it.
Fix physically before the shoot: anything that affects light or space. Dark corners, mismatched bulb temperatures, a blocked window, a cluttered surface that reads as a storage problem, a wheelie bin in the garden shot. These cannot be convincingly edited out, and attempting it produces the flat, over-processed look that makes listings feel dishonest.
Fix in post-production: small, removable distractions. A stray charging cable, a plug socket, a scuff on a skirting board, a reflection in a mirror, a single item left on a worktop. A competent editor removes these in minutes, and the result looks natural because the underlying room was already correct.
Never fix in post-production: the size of a room, the view from a window, the presence of a neighbouring building, or the condition of a kitchen. These are material facts, and editing them crosses from presentation into misrepresentation.
A Simple Decision Rule
If the property is occupied, stage it physically and use post-production only for small distractions. If it's vacant and the budget is tight, use virtual staging, label it clearly, and let the viewing do the rest. If it's vacant and the price point is high, physically stage at least the main reception room and primary bedroom, those images carry the listing.
Frequently Asked Questions
What are the most common mistakes to avoid when staging a property for photos?
The biggest mistakes are leaving personal photos on walls, forgetting to clean windows and mirrors, and using harsh overhead lighting that creates shadows. Other frequent errors include pushing all furniture against walls (which makes rooms look smaller), leaving bins or cleaning products visible, and shooting on a cloudy day without adjusting camera settings. Avoid these by working through a room-by-room checklist and testing your camera angles before the photographer arrives.
How can I stage a room quickly before a photographer arrives?
Focus on the five-minute fixes: clear kitchen worktops, plump sofa cushions, open curtains and blinds fully, remove bins and tea towels, and turn on lamps instead of overhead lights. In bedrooms, smooth duvets and hide phone chargers. In bathrooms, close toilet lids, hang fresh towels, and remove toothbrushes. These quick home staging tips for photography take under 20 minutes per room and make the biggest visual difference in listing photos.
Can professional photos fix bad lighting in a property?
Professional photographers can improve lighting significantly using exposure adjustments, HDR techniques, and post-production editing, but they cannot create light that does not exist. Dark rooms with small windows will still look dark without artificial light sources. The best approach is to maximise natural light before the shoot by cleaning windows, removing heavy curtains, and adding floor or table lamps. Professional photos can fix bad lighting to a degree, but preparation matters more.
Does professional staging actually help sell a property faster?
Well-staged images help buyers form their first impression from listing photos, helping them understand the flow of space and see themselves living there. A home staging checklist for sellers should include decluttering, depersonalising, and arranging furniture to highlight each room's best features. This preparation, combined with professional photography, gives your property listing a competitive edge in the market.