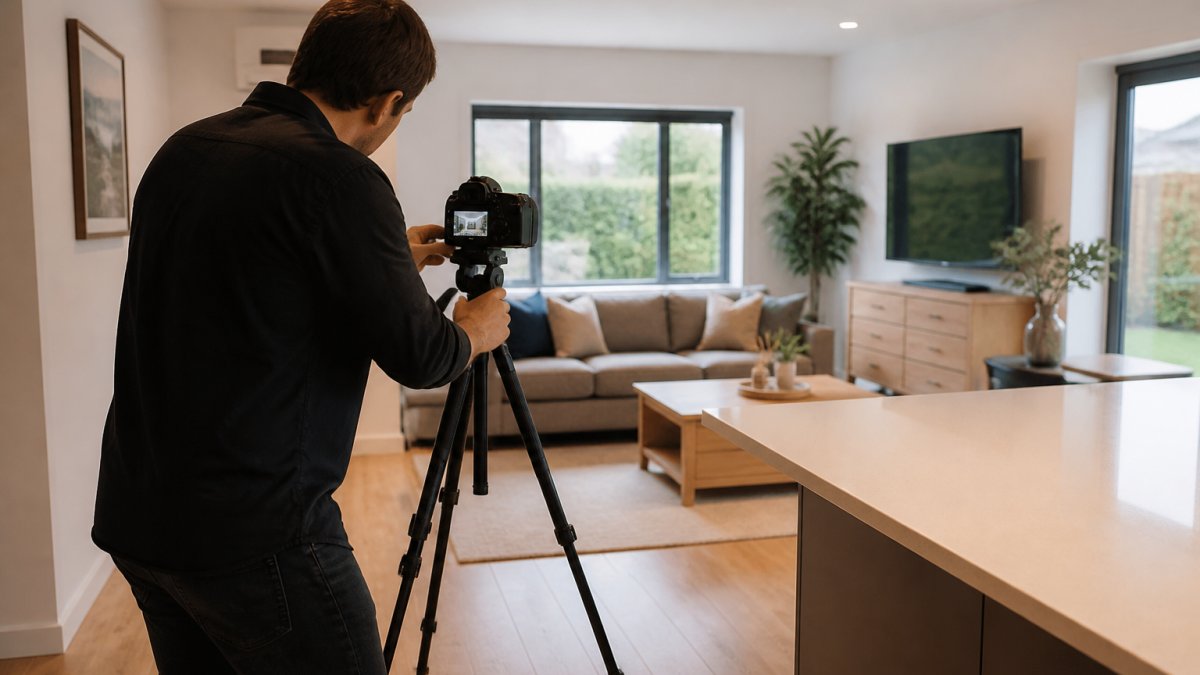
 how-to
How to Prepare a Home for Video Production: 7 Steps
Table of Contents
- Video Production Equipment Checklist for a Home Shoot
- Choosing the Right Room and Setting Up Your Studio Layout
- Lighting Setup and Camera Angles for a Professional Look
- Sound Treatment and Room Acoustics: Reducing Ambient Noise
- Home Staging for Video Production: Background Design and Decluttering
- Cable Management, Electrical Safety, and Pre-Production Logistics
- How Long Does a Professional Property Video Shoot Take?
- Post-Production and Final Checks for Your Home Studio
- Frequently Asked Questions
Last Updated: October 4, 2026
Video Production Equipment Checklist for a Home Shoot
Preparing a home for video production starts with a simple truth: buyers and guests decide in seconds.
Most people assume the gear does the work. It doesn't. A tidy room, soft daylight and a steady tripod beat an expensive camera in a cluttered, echoey space every time.
Here is your video production equipment checklist for a typical home shoot:
- Camera with clean lens and charged batteries
- Sturdy tripod or monopod
- Two or three LED panels or softboxes
- Shotgun mic plus a lavalier mic
- Extension leads and cable ties
- Gaffer tape for securing cables
You do not need all of this to start, but it is the baseline kit most working crews carry.
Camera and Support Gear
The camera matters less than the support under it. A mid-range camera on a solid tripod will outshoot a top-end camera held by hand.
For property work, you want:
- Resolution: 1080p is fine; 4K gives you room to crop
- Frame rate: 25fps for a natural look, 50fps if you plan slow motion
- White balance: set it manually in each room
- Tripod: fluid head, so pans stay smooth
A common mistake is shooting handheld "for energy". In a home, it just looks shaky and cheap.
Lighting and Audio Kit
Light and sound separate amateur video from professional video. Viewers forgive a soft image, but never bad audio.
- Key light: the main light on your subject or room
- Fill light: softens shadows from the key
- Backlight: separates the subject from the background
- Shotgun mic: good for wide room shots
- Lavalier mic: clips to a collar for talking-head pieces
Set your colour temperature the same across every light. Mixed temperatures leave an orange and blue cast that is hard to fix later.
Choosing the Right Room and Setting Up Your Studio Layout
Pick the room with the most control, not the biggest one: quiet, soft daylight, and enough depth to stand a tripod back from your subject.
Walk through the property and score each room on four things:
- Ambient noise: traffic, boilers, neighbours, fridges
- Light: windows you can open or block
- Space: room for a tripod and lights
- Background: a wall that looks good on camera
For a home studio, the quietest room with a window usually wins. Small space filming works well if you plan the studio layout first.
Sketch where the camera, lights and subject will sit before you move a single item. Five minutes of planning saves an hour of shuffling.
Lighting Setup and Camera Angles for a Professional Look
Light your room before you place the camera. Good lighting setup does more for a professional look than any lens.
A simple three-point setup works in most homes:
- Put the key light at roughly 45 degrees to your subject
- Add a fill light on the opposite side, set dimmer
- Place a backlight behind the subject to lift them off the wall
For camera angle, keep the lens at chest height, too high and the room shrinks, too low and ceilings loom.
Set white balance manually in every room. Auto white balance drifts as you pan, and the colour shifts with it.
Sound Treatment and Room Acoustics: Reducing Ambient Noise
Sound is the part most home shoots get wrong. Hard floors, bare walls and big windows create echo that makes even good footage feel cheap.
Room acoustics decide how your audio lands. To cut ambient noise:
- Switch off boilers, fridges and extractor fans during takes
- Close windows facing roads or neighbours
- Lay rugs on hard floors
- Hang curtains to soften reflections
- Add acoustic panels or thick soft furnishings on bare walls
If you cannot treat the room, get the microphone closer. A lavalier mic on the presenter beats a distant shotgun mic in an echoey space every time.
Home Staging for Video Production: Background Design and Decluttering
Home staging for video production separates a listing that wins enquiries from one that gets scrolled past, the camera sees mess that the eye forgives.
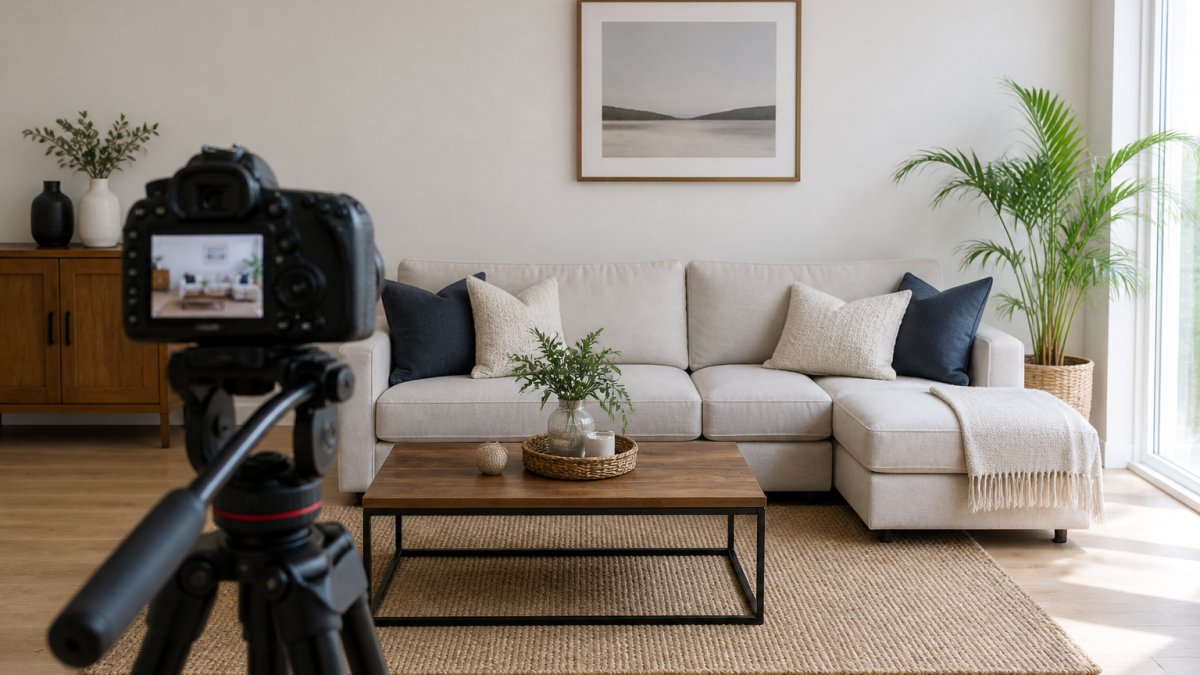
Start with background design. Every frame should tell the viewer what the room is for.
- Clear surfaces: worktops, tables, shelves
- Remove personal items: photos, post, medication
- Add one or two props: a plant, a bowl, folded throws
- Check the frame edges for bins, cables and clutter
- Make beds and straighten cushions last
Aim for calm and neutral. A few cushions and a plant read as "lived in but cared for". Clutter reads as "small and unloved", even in a large room.
Cable Management, Electrical Safety, and Pre-Production Logistics
Cable management protects both your gear and the people walking through the shot. Loose leads are a trip hazard, an eyesore, and end up in frame more often than people expect.
Tape every cable down with gaffer tape, run leads along skirting boards rather than across doorways, and coil and label spares. Where a cable must cross a walkway, use a rubber cable protector, flat tape lifts at the edges after an hour of foot traffic.
Electrical load: the part most home shoots get wrong
This is the angle almost no other guide covers, and it matters most in older housing stock.
A rough working figure: a single 60W LED panel draws about 0.25A at 230V, so three plus chargers and a monitor is still modest.
A practical method before you plug anything in:
- Find the consumer unit and identify which MCB or fuse protects the sockets in the room you are filming in
- Add up the wattage of every device you plan to run, then divide by 230 to get amps
- Keep the total comfortably below the circuit rating, most practitioners aim to stay under about 80% of it
- Spread high-draw gear across sockets on different circuits where you can, not just different sockets on the same circuit
- Never daisy-chain extension leads; a lead plugged into a lead is how overloads and overheating start
- Use a residual current device (RCD) adaptor for extra protection, especially on outdoor or garage sockets
If the property has dated wiring, a fuse box rather than a modern consumer unit, or unearthed sockets, do not push your luck, ask a qualified electrician to check the circuit before you draw serious load.
Pre-production logistics for home filming
Pre-production logistics are simple but easy to forget, and where most home shoots lose time:
- Confirm access times, key collection and parking before the day
- Warn occupants about noise, lighting changes and furniture being moved
- Book the quietest hours, mid-morning often beats after school pick-up
- Charge every battery the night before and pack a spare of everything you can
- Check mobile signal in the room if you rely on a phone for monitoring or comms
- Ask whether pets can be kept out of the filming area for the duration
A short pre-shoot call the day before catches most of these, ten minutes that saves an hour on site.
How Long Does a Professional Property Video Shoot Take?
A typical professional property video shoot takes two to four hours on site for a standard home, plus editing time afterwards. Larger venues, holiday lets and commercial spaces take longer.
Here is a rough guide:
| Property Type | On-Site Time | Notes |
|---|---|---|
| Standard home | 2-3 hours | Stills plus short video |
| Large home or let | 3-4 hours | More rooms, more setups |
| Hospitality venue | 4-6 hours | Atmosphere, staff, detail shots |
| Commercial space | 3-5 hours | Layout, signage, workspaces |
The production workflow matters more than raw speed. Rushing the lighting setup or skipping sound treatment costs you twice as much time in the edit.
Post-Production and Final Checks for Your Home Studio
Post-production is where a home shoot becomes a finished asset, and where the compromises of filming in a real home show up. Budget as much time here as you spent filming, often more.
How home conditions change the edit
Two things you cannot fully control on location drive most of your editing time: room acoustics and mixed lighting. Understanding both before you sit down saves hours.
Acoustics. A room with hard floors, bare walls and large windows produces a short, bright reverb baked into the recording.
Mixed lighting. If daylight from a window and a warm LED panel hit the same wall, your white balance is a compromise and colour drifts as the camera pans, showing up as skin tones and walls shifting hue mid-shot.
A home-studio editing checklist
- Sync audio and video, and check lip-sync on any talking-head footage
- Correct white balance and exposure per clip, not globally, home lighting changes room to room
- Apply light noise reduction only where needed; over-processing softens detail
- Cut dead air, shaky frames and any shot where a reflection or clutter distracts
- Add a simple title card and contact details
- Export at the right resolution and frame rate for each platform, 1080p at 25fps covers most web and social use, with 4K reserved for where you need crop room
Colour grading footage shot in a home
Home footage rarely grades like studio footage: walls pick up colour casts, windows blow out, and shadows under furniture go muddy. A workable approach:
- Set a neutral starting point with a colour chart or a grey card shot at the start of each room
- Bring highlights down before pushing shadows up, recovering blown windows is harder than lifting dark corners
- Keep skin tones as the reference point; if a wall looks slightly off but skin is right, leave the wall
- Resist heavy stylistic grades on property footage, buyers and guests want to judge the space, not the filter
Final checks before you publish
- Does the video match the property as it stands today?
- Is the audio clear without echo or hum?
- Are all cables and clutter out of frame?
- Does the first three seconds grab attention?
- Have you checked the export on a phone as well as a monitor?
Honest footage builds trust. If a listing does not match reality, guests and buyers notice, and that costs you far more than a reshoot.
Frequently Asked Questions
How much should a 3 minute video cost?
Costs vary widely based on the complexity of the shoot, the equipment used, and the level of post-production required. For a professional property video, pricing depends on the number of rooms, the duration of the shoot, and the final edit. It is best to request a custom quote from a professional service like Property Home Photos to get an accurate figure for your specific needs.
What equipment do I need for video production?
A basic video production equipment checklist includes a camera with manual controls, a sturdy tripod, and lighting such as LED panels or softboxes. For audio, a lavalier or shotgun microphone is essential. You will also need cables, extra batteries, and memory cards.
Do I need to move furniture to prepare for a professional video crew?
Yes, it is often necessary to move furniture to create space for the crew to work and to achieve the best camera angles. Clear pathways for cables and equipment, and remove any items that could clutter the shot. This also helps with home staging for video production, ensuring the room looks spacious and inviting on camera.
How can I improve the acoustics of a room for better audio recording?
To improve room acoustics, add soft furnishings like rugs, curtains, and cushions to absorb sound reflections. Acoustic panels can be placed on walls, especially in corners. Avoid rooms with hard surfaces like tile or glass. Turn off appliances that create ambient noise, such as refrigerators or air conditioning, during recording.
Preparing a home for video production is a skill, and it is one most owners and agents would rather hand over than learn from scratch. If you would rather not juggle tripods, lighting and sound treatment on top of a launch date, Property Home Photos can help. You work directly with photographer Mark Henry Rood, who plans turnaround around your listing dates and backs every shoot with a satisfaction guarantee. Request a quote and get imagery that helps your home, let or venue win enquiries.