 how-to
How to Match Listing Photos to Real Life Property
Table of Contents
- Why Listing Photos Often Mislead Buyers
- How to Spot Fake Photos on a Property Listing
- Using Maps and Street View for Verification
- Can Professional Photos Fix Bad Lighting?
- How to Prepare Your Home for Property Photos
- Your Physical Inspection Checklist
- The Legal Implications of Misleading Photos
- Final Checks Before You View or List
- Frequently Asked Questions
Last Updated: September 6, 2026
Why Listing Photos Often Mislead Buyers
The gap between a polished property listing and the reality you walk into is a common frustration. Most estate agents are not trying to deceive you; they are presenting a space in its best light. However, techniques like wide-angle lenses and careful lighting can unintentionally distort your spatial perception of a room.
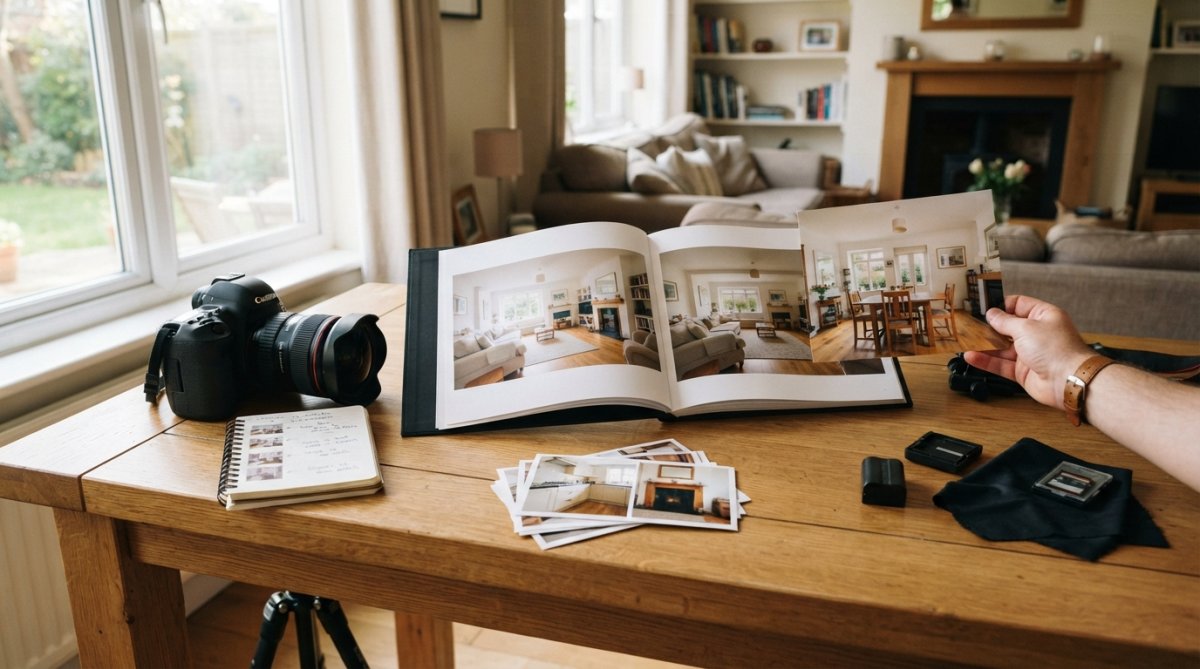
Professional property photography is a legitimate marketing tool, but it creates an inherent tension. A wide-angle lens can make a modest sitting room feel twice its size, while cleverly angled shots can hide awkward layout features. At Property Home Photos, we believe the most effective imagery balances appeal with accuracy. This guide shows you how to cut through the gloss, verify what you are seeing, and avoid disappointment.
How to Spot Fake Photos on a Property Listing
Spotting a fake or heavily manipulated photo requires a shift in how you read an image. Instead of looking at the room, look at the lines and details, where digital manipulation usually reveals itself.
Reverse Image Search and Metadata Checks
A reverse image search is your first line of defence against recycled or stolen imagery. Right-click the photo and select "Search Google for Image," or upload it to a dedicated engine. If the same photo appears on listings for different addresses, the image is not authentic to that property.
Check the image file's metadata if you have downloaded it. While many platforms strip this data, it can reveal the original date or camera used. A photo supposedly taken for a spring listing that contains autumn metadata is a clear red flag.
Spotting Virtual Staging and Wide-Angle Distortion
Virtual staging is common but misleading when not clearly labelled. Virtual items often lack realistic shadows, have unnaturally crisp edges, or reflect light inconsistently with the room's windows. If a mirror reflection does not show the photographer or the rest of the room correctly, that is a strong sign of manipulation.
Wide-angle distortion is subtler but more pervasive. Straight vertical lines, like door frames and cabinet edges, should be perfectly straight. If they bow outward near the frame's edges, the photographer has stretched the space. Compare the room's width in the photo to the floor plan to gauge distortion.
Using Maps and Street View for Verification
Before you visit, use mapping tools to verify the property's external context. Satellite view gives you the true size of the garden and distance to neighbours, which wide-angle exterior shots often exaggerate.
Street view is invaluable for checking the front elevation, road condition, and area character. A flattering listing photo can hide a busy main road or poorly maintained frontage that street view reveals instantly, grounding your expectations before you waste a journey.
Can Professional Photos Fix Bad Lighting?
Professional photos cannot fix fundamentally bad lighting; they can only manage it. If a room has no natural light source, a north-facing window, or is overshadowed, no camera or editing suite can manufacture daylight that does not exist.
What professional photography can do is use HDR processing and flash to balance available light, preventing a bright window from blowing out a darker room's details. However, this creates a brighter image than the naked eye sees on an overcast afternoon.
How Wide-Angle Lenses and HDR Distort Spatial Perception
The most significant distortion comes from the lens, not the lighting. A 16mm wide-angle lens is standard because it captures an entire room in one frame, but it makes edge objects appear stretched and rooms look roughly 20-30% larger (peer-reviewed research). Door frames bow outward, and a 3-metre-wide bedroom can look like a 4-metre master suite.
HDR processing compounds this effect. The camera takes three or more exposures, for the window, mid-tones, and shadows, and merges them into one image. The result is a room where every corner is evenly lit, with no deep shadows or bright highlights. Your eye, by contrast, perceives a limited dynamic range at any moment; it will never see the scene as uniformly bright as the HDR image suggests.
The Practical Test: Visit at the Right Time of Day
When you view a property, visit at the time of day you would normally use the room. If you work from home, see the office in the afternoon; if you cook dinner, check the kitchen in the early evening. This is the only way to know if the lighting works for your life.
Bring a torch or use your phone's flashlight to test light in corners that appear bright in photos. Check whether the room has a single overhead source or multiple lamps. A room that photographs beautifully with a bounced flash may feel like a cave at 7pm in winter with only a single 40-watt bulb.
What to Look for in the Listing Photos Themselves
Before you visit, examine the direction of shadows in each photo. Consistent shadows from one side indicate natural light; absent or inconsistent shadows suggest multiple off-camera flashes or HDR merging. Neither is deceptive, but knowing the technique helps you predict the room's actual feel.
Check whether the photographer included a photo with curtains closed or lights off. Honest listings often include at least one 'unstyled' shot in ambient conditions. If every photo shows every light on and curtain open, treat the brightness with scepticism.
How to Prepare Your Home for Property Photos
If you are selling, the goal is a clean, decluttered space that photographs honestly. Preparation is more about subtraction than renovation. Remove personal items, clear counters, and store excess furniture to make rooms appear more spacious without deceptive angles.
Ensure all bulbs work and use the highest wattage allowed. Open all curtains and blinds fully. A tidy garden and swept front path improve exterior shots, often the first image a buyer sees. The aim is to make the property ready so the photographer need not rely on distortion or heavy editing.
Your Physical Inspection Checklist
No amount of digital verification replaces a physical site visit. When you arrive, use a structured checklist to compare the property against its listing photos, confirming floor plan accuracy and true room scale.
Before You Enter: The External Comparison
Start outside, before you step through the front door. Stand at the same angle as the exterior listing photo and compare the roofline, chimney, window positions, and brickwork. A common discrepancy is a photo taken years ago, before an extension or tree removal. Check garden boundaries against the satellite view; agents often photograph gardens from an elevated angle that makes a narrow strip look like a lawn.
Room-by-Room Verification
Work through each room systematically. For each room in the floor plan, ask three questions: Is it the same shape? Is it the same size? Is the finish the same quality?
- Measure the room: Bring a laser measure or a 5-metre tape measure. Compare the actual width and length against the floor plan dimensions. A discrepancy of more than 30cm is significant and suggests the floor plan itself may be inaccurate.
- Check ceiling height: Wide-angle lenses can make ceilings appear higher. Stand against a wall and estimate the height; if you are 1.8m tall and your hand touches the ceiling, the room is not the lofty space the photo suggested.
- Test the light switches: Confirm the light levels match the brightness suggested in the photos. Turn on every switch and note which fixtures actually work. A photo showing a bright pendant light may hide the fact that the wiring is faulty or the fixture is not included in the sale.
- Inspect the view from windows: Look out of every window and compare the outlook to the listing. Photographers often crop out a neighbouring wall, a busy road, or a building site. Note whether the view is of brickwork, a fence, or open sky.
- Examine floors and walls at an angle: Stand sideways to the wall and look along its surface. This reveals undulations, damp patches, and poor plastering that frontal photography hides. Run your hand along skirting boards to check for rot or recent repainting that might conceal damage.
- Open every door: Check that doors open fully without catching on the floor. A wide-angle photo can make a hallway look spacious, but if the internal doors only open 45 degrees before hitting a wall, the layout is less practical than it appears.
The Furniture Fit Test
The most common post-purchase disappointment is furniture that does not fit. If the listing shows a large corner sofa in the living room, measure the actual space and compare it to the dimensions of that sofa. Check whether a double bed would fit in the second bedroom, or whether the 'dining area' in the open-plan kitchen can actually accommodate a table and chairs.
What to Photograph Yourself
Take your own photos during the visit, from the same angles as the listing shots, for a direct side-by-side comparison at home. Photograph the garden from the agent's exterior position and each room from the doorway. These images are invaluable for spotting discrepancies you may have missed.
The Legal Implications of Misleading Photos
Misleading photos are not just an ethical issue; they can have legal consequences under UK consumer protection law. The Consumer Protection from Unfair Trading Regulations 2008 prohibit misleading actions that cause the average consumer to take a transactional decision they would not have taken otherwise.
If a buyer relies on a materially misleading photo and purchases a property, they may have grounds for a claim against the seller or the listing agent. The Competition and Markets Authority guidance on property sales makes clear that traders must not mislead consumers on key aspects of a property. For estate agents, the National Trading Standards Estate and Letting Agency Team guidance sets out specific requirements for property descriptions and photography, including the need to avoid exaggerating the size or layout of a property.
Final Checks Before You View or List
Before you book a viewing or commission a photographer, do a final sweep of the listing. Cross-reference the number of bedrooms in photos against the floor plan and council tax band. Check if the garden is private or overlooked, and confirm parking arrangements, as these are common areas for photographic omission.
For sellers and agents, the best strategy is to commission photography that captures the property honestly. Property Home Photos works directly with photographer Mark Henry Rood, providing a punctual, tailored shoot that respects your schedule and delivers high-quality, trustworthy imagery. The service includes a satisfaction guarantee and turnaround planned around your listing dates.
Matching listing photos to real life property requires digital forensics and physical verification. By using reverse image searches, checking street views, and walking through with a critical eye, you protect yourself from disappointment. For agents and owners, presenting an honest property through professional photography builds trust. Request a quote from Property Home Photos and get imagery that accurately represents your space while driving genuine enquiries.
Frequently Asked Questions
What is the 20 60 20 rule in photography?
In property photography, the 20 60 20 rule describes how a room's appearance in photos is influenced: 20% is the camera and lens, 60% is lighting and composition, and the final 20% is post-processing. For buyers, this means a professionally lit and composed shot of a small room can look far larger. When comparing listing photos to real life, focus on the room's dimensions and layout, not just the visual impression.
How can misleading property photos impact buyer or tenant trust?
Misleading photos create a gap between expectation and reality. When a buyer or tenant arrives to find a room smaller, darker, or in worse condition than the images suggested, trust breaks down immediately. This often leads to cancelled viewings, failed offers, and wasted time for all parties. Accurate photos that honestly represent the property build confidence and help prospective buyers make informed decisions based on the actual property.
Can misleading listing photos lead to legal issues under the Consumer Protection from Unfair Trading Regulations?
Yes. Under the Consumer Protection from Unfair Trading Regulations 2008, estate agents must not mislead consumers through their marketing, including photos. Presenting a property in a way that misrepresents its condition or size could be considered a misleading action, potentially leading to enforcement action and fines. Accurate listing photos are not just ethical; they are a legal requirement for agents and private sellers.
How do you balance high-quality photography with realistic expectations?
The goal is honest enhancement, not deception. Professional photographers use techniques like HDR processing and careful staging to make a home look its best, but they should not alter the fundamental layout, size, or condition. You can balance quality and realism by ensuring all rooms are shown accurately, disclosing any flaws, and avoiding excessive wide-angle lenses that distort spatial perception. This builds trust with prospective buyers.