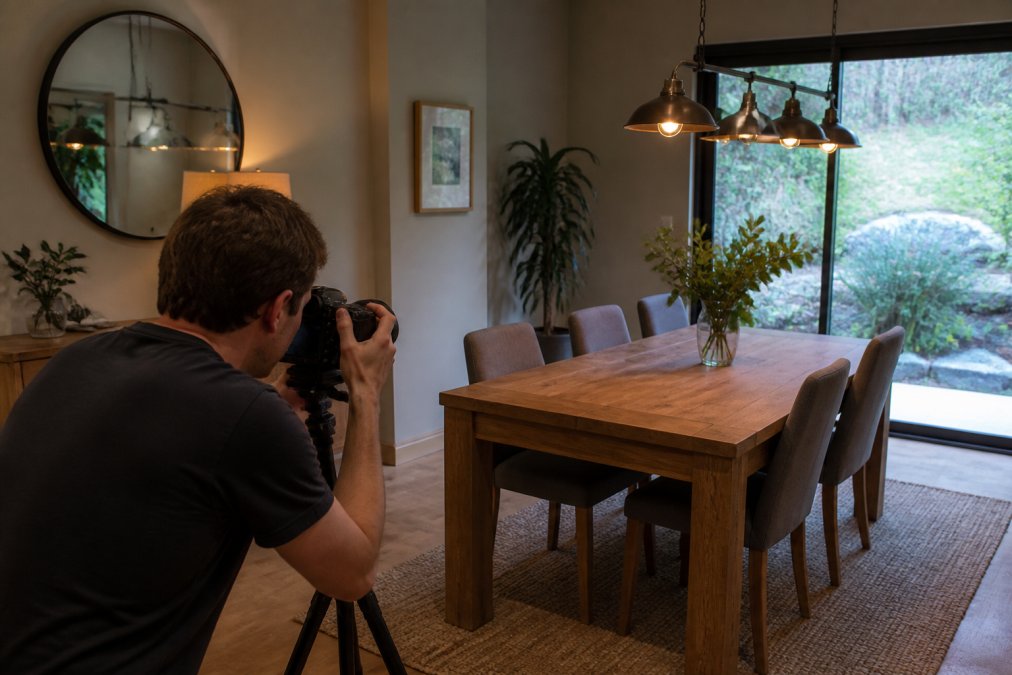
 how-to
Can Professional Photos Fix Bad Lighting?
Table of Contents
- What Professional Photos Can Actually Fix with Bad Lighting
- RAW Format and Dynamic Range: The Foundation of Lighting Recovery
- Real Estate Photography Lighting Techniques Used On-Site
- How to Prepare a Property for Professional Photography
- Correcting Overexposed and Underexposed Property Images
- The Impact of High-Quality Images on Property Enquiries
- Batch Processing and Mobile-First Workflows for Property Photos
- Frequently Asked Questions
Last Updated: August 29, 2026
What Professional Photos Can Actually Fix with Bad Lighting
Many property owners ask whether professional photos can fix bad lighting. The honest answer is: it depends on what "bad lighting" actually means in your specific space. Post-processing can open up dark corners, recover detail in bright windows, balance colour temperature, and create warmth that a phone snapshot cannot replicate. But editing has hard limits. Understanding those limits before your shoot separates a listing that impresses from one that disappoints.
Dynamic range is the core concept, the difference between the brightest and darkest areas a camera sensor can capture simultaneously. Professional cameras have significantly wider dynamic range than smartphones, recording more usable data across the full tonal spectrum of a room.
Recovering Highlights and Shadows in Post-Processing
Professional post-processing software gives photographers precise control over highlights, shadows, mid-tones, and contrast independently. If a room is slightly underexposed, a photographer can lift the shadows and bring out detail in dark areas without introducing excessive digital noise. If a window is blowing out, they can recover sky or garden detail that was invisible in the original shot.
The Limits of Recovery: When Clipping Means the Data Is Gone
When highlights are completely clipped, the pixel data does not exist. A pure white area in a RAW file contains no colour information or texture. Pulling that area down in post-processing produces a flat, grey smear, not a window with a view. The same applies to deep shadows captured at high ISO, aggressive noise reduction softens fine detail and creates an artificial look that experienced buyers notice immediately.
The most honest thing a professional photographer can tell you is that the best lighting fix happens before the camera shutter opens.
RAW Format and Dynamic Range: The Foundation of Lighting Recovery
RAW format is the technical foundation that makes professional lighting recovery possible. Unlike JPEG, which compresses and discards pixel data at capture, a RAW file preserves the full sensor output, giving the editing stage genuine flexibility.
According to Adobe's guide to RAW versus JPEG photography, RAW files typically contain 12 to 14 bits of colour depth per channel, compared to 8 bits in a JPEG. That difference translates directly into how many stops of exposure can be recovered in post-processing without visible degradation.
For property photography, this matters enormously. A room with a bright window on one side and a dark corner on the other represents a challenging dynamic range scenario. Shot in RAW with a well-calibrated camera, that scene can be processed to show both interior detail and the view outside. Shot in JPEG on a phone, the photographer must choose which to expose correctly, and the other is lost.
White balance is another area where RAW files provide critical flexibility. Mixed light sources, such as warm tungsten lamps alongside cool daylight, create colour temperature conflicts that are very difficult to correct in a JPEG. In RAW post-processing, white balance can be adjusted non-destructively, allowing each light source to be balanced independently using masking techniques.
| Editing Challenge | RAW Recovery Potential | JPEG Recovery Potential |
|---|---|---|
| Underexposed shadows | High (2-3 stops) | Low (visible noise) |
| Overexposed highlights | Moderate (1-2 stops) | Very low (clipped data) |
| White balance correction | Full non-destructive | Limited, quality loss |
| Digital noise reduction | Effective with detail | Moderate, softens image |
| Colour grading | Precise, no artefacts | Visible banding risk |
Real Estate Photography Lighting Techniques Used On-Site
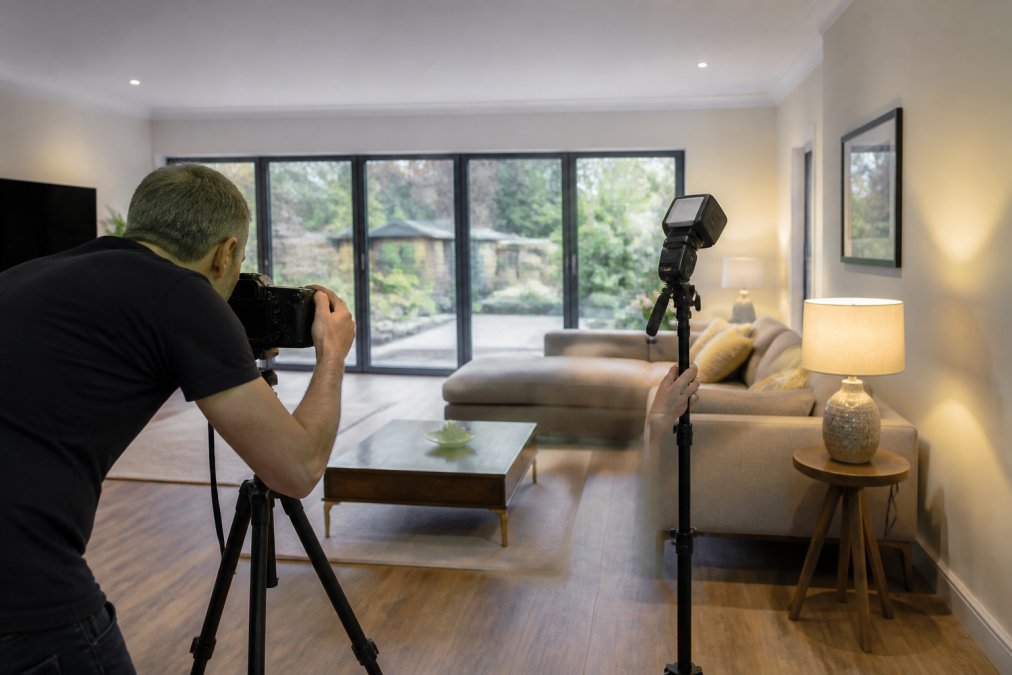
The most effective lighting corrections happen at the shoot itself, not in post-processing. Professional real estate photography lighting techniques are designed to capture a scene that requires minimal heavy editing, which preserves image quality and produces results that accurately represent the property.
Flash, Ambient Blending, and HDR Bracketing
Three approaches dominate professional property photography: flash photography, ambient blending, and HDR bracketing.
Flash photography uses off-camera or on-camera flash to supplement natural light, often bounced off a ceiling to create soft, even illumination that fills shadows without harsh hotspots. This technique is particularly effective in rooms with limited natural light.
Ambient blending involves shooting multiple exposures at different settings and compositing them in post-processing. One exposure is optimised for the window view; another captures the interior at the correct brightness. These are combined using masking to produce a single image where both zones are correctly exposed.
HDR bracketing captures a sequence of exposures, typically three to five, at different levels and merges them automatically or manually. When executed well, the result shows the full dynamic range of a scene without the artificial, over-processed look that poor HDR produces.
AI-Powered Relighting and Selective Masking in Editing
AI-powered relighting tools represent the most significant recent development in property photo post-processing. Software now exists that can analyse a scene and selectively adjust the apparent light source, brighten specific zones, or reduce glare on reflective surfaces with precision that manual masking previously required hours to achieve.
Selective masking allows a photographer to target specific areas of an image, such as a dark corner or a bright window, and adjust exposure, saturation, vibrance, and contrast independently of the rest of the frame. The result is an image that looks naturally lit rather than heavily processed.
As Rightmove's guidance on property photography standards makes clear, buyers form strong first impressions from listing images within seconds, which means the quality and accuracy of lighting in those images directly affects whether a viewer clicks through to arrange a viewing.
How to Prepare a Property for Professional Photography
Preparing a property correctly before a shoot is the single most effective way to reduce lighting problems before they arise.
Controlling Natural Light Before the Shoot
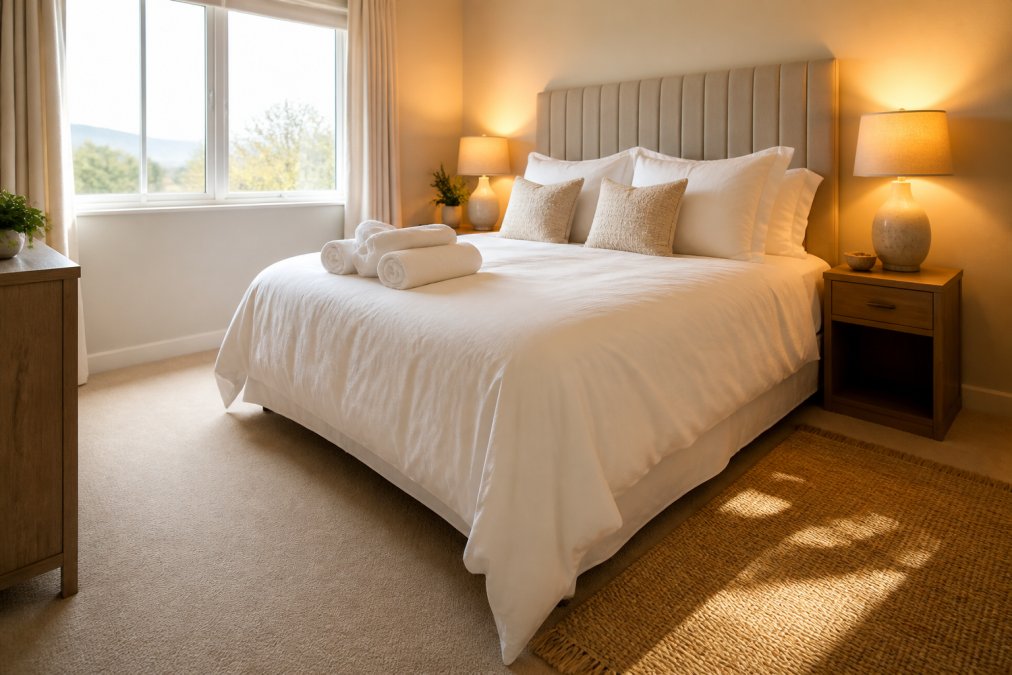
Natural light is a photographer's most valuable resource and most unpredictable variable. Before the shoot, owners should:
- Clean all windows thoroughly. Dirty glass scatters light and reduces the clarity of the view outside.
- Replace any blown bulbs. Mixed light sources create uneven illumination that is difficult to correct in post-processing.
- Choose the right time of day. East-facing rooms photograph best in the morning; west-facing rooms in the afternoon.
- Open curtains and blinds fully. Partial coverings create uneven light patterns that require significant retouching.
- Switch on all interior lamps. Warm lamp light adds depth and atmosphere.
Interior Staging Choices That Prevent Lighting Problems
Staging decisions affect lighting significantly. Dark furniture placed against dark walls absorbs light and creates flat, low-contrast images where detail is lost. Light-coloured surfaces reflect light and help distribute it evenly across a room.
Mirrors, when positioned correctly, can amplify natural light from a window and brighten an otherwise dark corner. Remove any items that cast complex shadows across walls or floors, as these create distracting patterns that draw the viewer's eye away from the room itself.
Correcting Overexposed and Underexposed Property Images
Correcting overexposed and underexposed property images in post-processing follows a clear process, but the degree of correction possible depends entirely on what was captured at the shoot.
For overexposed images, the editing workflow involves pulling highlights down using curves or the highlights slider, applying luminance masking to target only the brightest areas, and adjusting mid-tones to restore natural-looking brightness. If the overexposure is moderate, this process recovers significant detail. If the image is fully clipped to white, no recovery is possible.
For underexposed images, the process involves lifting shadows and exposure, then applying noise reduction to manage the digital noise that becomes visible when dark areas are brightened. Modern noise-reduction tools, including AI-powered options, have improved considerably, but there is always a trade-off between noise removal and fine detail retention.
Colour correction is often required alongside exposure adjustment. Underexposed images frequently appear cooler and more blue than the actual scene, while overexposed images can lose colour saturation entirely. Restoring accurate colour temperature and vibrance completes the retouching workflow.
The Impact of High-Quality Images on Property Enquiries
Listings with professionally produced photographs consistently generate more views and more enquiry activity than those with amateur images, across residential sales, rentals, holiday lets, and commercial properties alike.
According to Zoopla's research on property listing performance, properties with professional photography attract significantly more online views than those using smartphone images. More views translate directly into more enquiries, and more enquiries give vendors and agents more negotiating position.
A buyer or tenant scrolling through listings makes a decision to click or skip within a fraction of a second, based almost entirely on the first image. If that image is dark, flat, or poorly composed, the listing is passed over regardless of the property's actual quality.
Batch Processing and Mobile-First Workflows for Property Photos
For agents and developers managing multiple listings simultaneously, batch processing is a practical necessity. Professional post-processing workflows address this through batch editing, where a base set of adjustments, including exposure, white balance, contrast, and sharpening, is applied across a set of images, then refined individually where needed. This maintains visual consistency across a listing while still allowing room-specific corrections.
Mobile-first delivery is increasingly important. Many buyers and tenants browse listings on smartphones, which means images need to look correct on smaller screens with varying display brightness. Professional photographers account for this during the editing stage, targeting a brightness and contrast range that holds up across both desktop and mobile viewing.
For a complete overview of post-processing best practices in property photography, the British Institute of Professional Photography's guidance on architectural photography provides a useful reference point for industry standards.
Bad lighting is one of the most common reasons property listings underperform, and it is also one of the most preventable. Property Home Photos works directly with photographer Mark Henry Rood to get the exposure, staging, and on-site lighting right before post-processing begins, which means the final images are accurate, consistent, and ready to support your listing from day one. With a satisfaction guarantee and turnaround times planned around your launch date, there is no reason to leave your listing's first impression to chance. Request a quote from Property Home Photos and get imagery that works.
Frequently Asked Questions
Can professional photographers fix poor lighting in post-production?
Yes, to a significant degree. When images are shot in RAW format, professional editing software can recover detail from underexposed shadows and pull back blown-out highlights using curves, levels, and luminance adjustments. Selective masking allows editors to correct specific zones without affecting the whole image. However, completely clipped pixels contain no recoverable data, so the best results always come from combining strong on-site technique with skilled post-processing.
Is it better to fix lighting in editing or get it right on-site?
Getting it right on-site produces superior results every time. Editing can correct a great deal, but it cannot recreate pixel data that was never captured. A professional photographer uses flash, ambient blending, and HDR bracketing to capture the full dynamic range of a room before editing begins. Preparation also matters: opening curtains, switching on all lamps, and timing the shoot for the best natural light reduces the editing workload and produces cleaner, more accurate images.
What are the limitations of fixing underexposed property photos?
Pushing exposure too far in post-processing introduces digital noise, colour shifts, and loss of fine detail in shadow areas. Underexposed images shot in JPEG format are especially limited because the file discards data the camera captured. RAW files give editors far more latitude, but there is still a ceiling. Extreme underexposure, where mid-tones are nearly black, rarely recovers to a standard suitable for property listings without visible artefacts that undermine buyer trust.
Why do professional property photos look better than DIY attempts?
Professional property photos combine the right equipment, lighting knowledge, and post-processing skill in a single workflow. A professional shoots in RAW, controls colour temperature and white balance precisely, and uses flash or HDR techniques to balance bright windows against darker interiors. The editing stage then applies colour grading, contrast adjustments, and noise reduction to produce images that accurately represent the space. Smartphone cameras and basic editing apps cannot replicate this end-to-end control.